vTiger 6.0
vTiger 6.0
vTigerCRM 6 Live Demo
September 4, 2013
Article
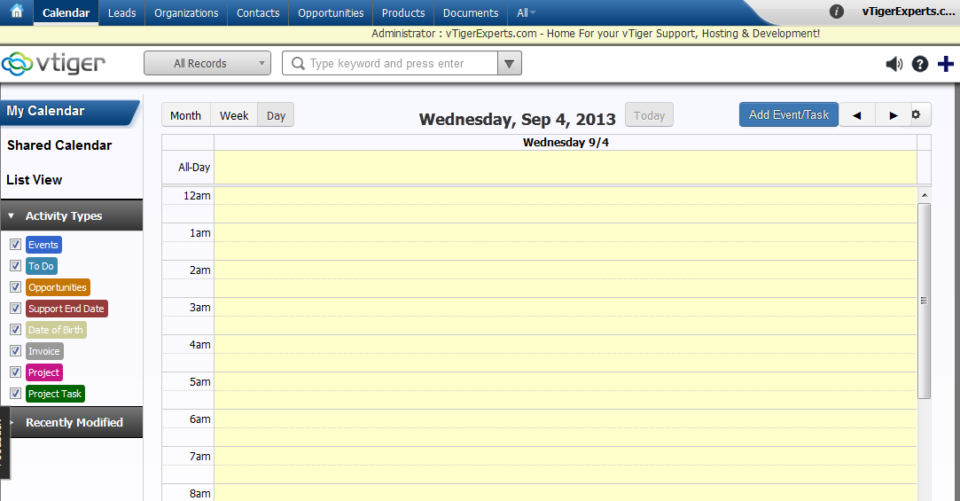
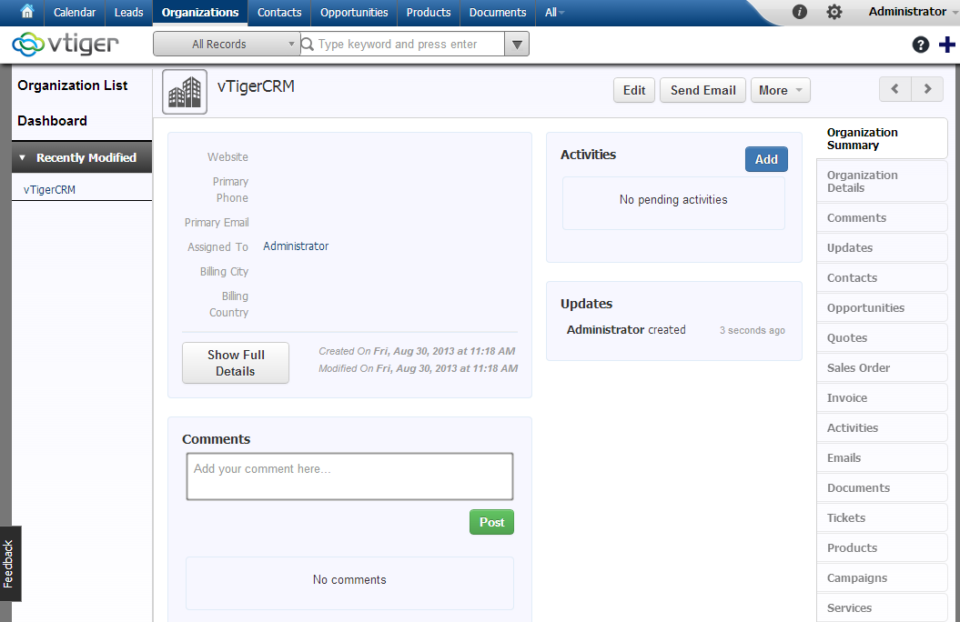
If you haven’t had a chance to explore vTiger 6 Beta yet – you should. The looks of it is completely redesigned, it as a lot of new views and functions. I’m not going to talk much about it in this article – the purpose of it is to have you check and evaluate it yourself. Link: vTigerCRM 6 Live Demo Username: demo Password: demo
What to do If you get a Blank/White Page In vTiger?
August 30, 2013
Article
There can be multiple reason as for why you are getting Blank Page in vTiger. It can be server configuration, vTiger error, or a permissions issue. The first step you should do is enable error reporting in index.php. You can do that on the server site as well. To enable error report you will have to add an additional line to index.php. Go to “/vtigercrm/” Open index.php with your favorite text editor After <?php create a new line and add “ini_set(‘display_errors’, 1);” – (exclude double quotes). Save it Now you should be getting an vTiger error message instead of blank screen, which will help you to identify & solve the issue. If you need help trying to figure out what went wrong, feel free to contact us.
How to Clean Up vTiger Login Page
August 30, 2013
Article
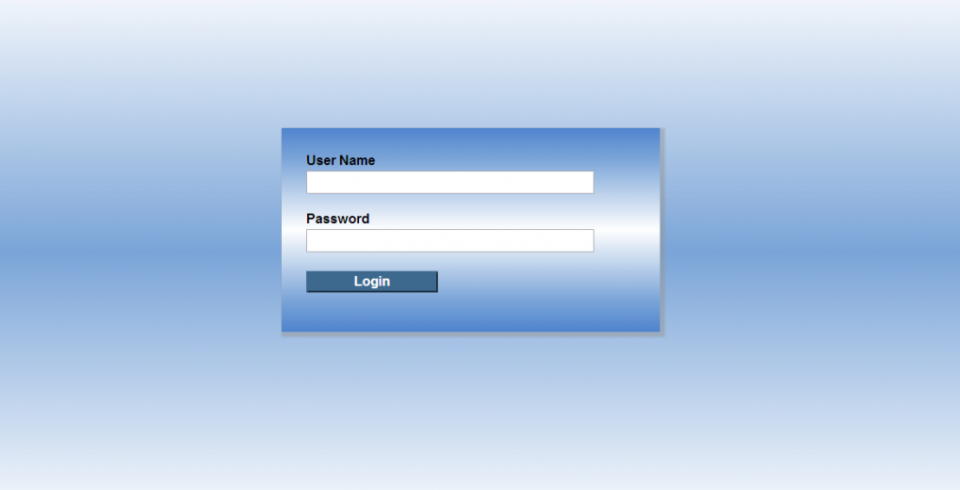
Default vTiger Login Page has a lot of elements which are just advertisements or links to their website. As a business you usually would not want to see something like that. There’s an easy fix to remove all of those elements. You can either follow the instructions below and do it yourself or just download the cleaned up login page. Instructions: Go to “vtigercrm/Smarty/templates/” Open Login.tpl Go to Line 22, it should be blank, add <!– Go to Line 64, it should be blank, add –> Go to Line 67, there should be “<div>Powered by vtiger CRM – {$VTIGER_VERSION}</div>“, add <!– and –> around it: <!– <div>Powered by vtiger CRM – {$VTIGER_VERSION}</div> –> Go to Line 91, there should be “<div> class=”importantLinks”>”, add <!– in front of it: <!– <div> class=”importantLinks> Go to Line 97, there should be “<div>”, add –> at the end of it: <div> –> Go to
How to Send an Email using vTiger User’s Email Address?
August 29, 2013
Article
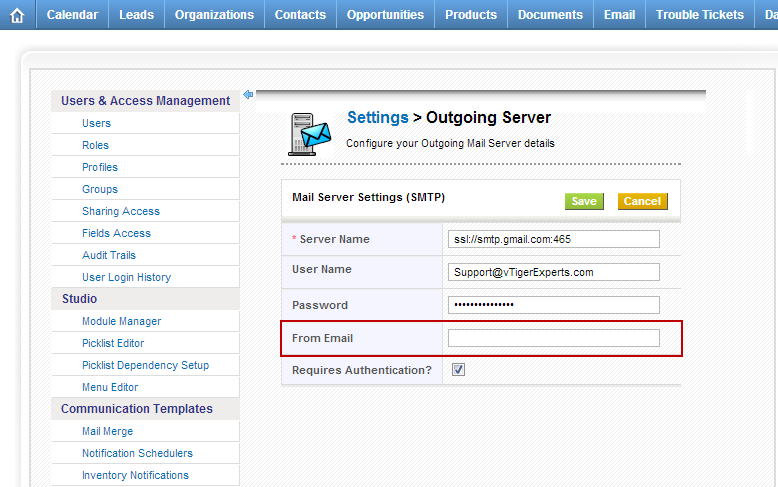
Out of the box vTiger already has ability to have Email “FROM” Address as logged in user’s email address. It’s very simple – when setting up a vTiger Outgoing Email Server you should NOT specify the “FROM” Email Address. If the “FROM” Email Address is not specified the system will use logged in user’s email address as “FROM” Address when sending an email.
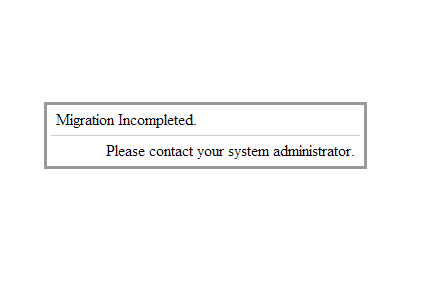
Migration Incompleted. Please contact your system administrator.
August 28, 2013
Article
The vTiger error “Migration Incompleted. Please contact your system administrator.” is usually caused by vTiger not being able to connect to the MySQL database. Possible causes: MySQL Server is not available/down MySQL Server host has changed MySQL Username/Password is not correct/has changed MySQL Database name has changed In order to adjust the MySQL credentials, first you have to verify them with your host provider and adjust them in config.inc.php. Go to your vTigerCRM directory Open “config.inc.php” with your favorite text editor Go to line 47 – verify that the $dbconfig[‘db_server’] has the correct MySQL Host Name Go to line 48 – verify that the $dbconfig[‘db_port’] has the correct MySQL Port Go to line 49 – verify that the $dbconfig[‘db_username’] has the correct MySQL Username Go to line 50 – verify that the $dbconfig[‘db_password’] has the correct MySQL Password Go to line 51 – verify that the $dbconfig[‘db_name’] has the correct MySQL Database Name Hope that helps!
Sorry! Attempt to access restricted file.
August 28, 2013
Article
The most likely cause for the vTiger error “Sorry! Attempt to access restricted file.” is the $root_directory value in the ‘config.inc.php’ is incorrect or misspelled. In order to correct it follow the steps below: Go to your vTigerCRM directory Open “config.inc.php” with your favorite text editor Go to line 86 and adjust $root_directory value to correct vTiger directory. Note, that the directory must end with /. It should look something like this – $root_directory = ‘/var/www/vtigercrm/’; Hope that helps!
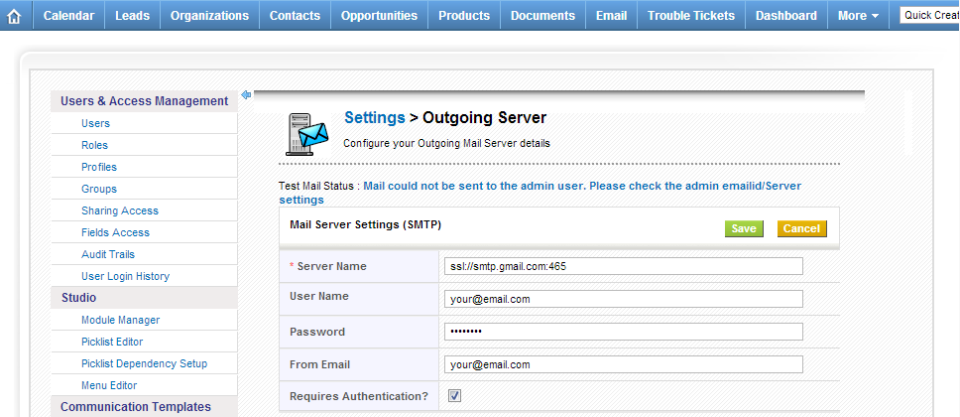
Mail could not be sent to the admin user. Please check the admin emailid/Server settings
August 7, 2013
Article
There are a lot of things that can go wrong when setting up the vTiger Outgoing Email Server – it can be as simple as mistype or as complected as firewall blocking the connection or missing PHP extension. Hopefully the steps below will point you to the right direction while troubleshooting the error you are getting. If you are using GMail as your Outgoing Server – follow the guide “Setting up vTiger Outgoing Email Server With GMail“ Make sure that the username/password and the Server Name is correct. Check your email settings or contact your email provider to verify the email server. Verify that your email server does not require SSL connection or any specific port – if it does, add the ssl:// tag or the port using the “GMail as an Outgoing Email Server in vTiger” example. If you are using ssl:// tag – make sure SSL PHP Extension
vTiger Open Source 6.0 Beta Released
July 14, 2013
Article
Finally vTigerCRM 6 Beta have been released. It’s not fully functional yet, there are some modules missing as well as some new modules that did not exist in vTigerCRM 5.4 such as Google Calendar & Contact Sync. Since it’s just Beta version, you can not upgrade from 5.4 yet and it’s only for testing and bug reporting purposes. The RC/Stable is scheduled to be released September or October, however the schedule might change. Vtiger 6.0 Beta: Installation Files | Installation Manual | Developer Manual


