vTiger Tips
vTiger Outgoing Email Server & Amazon SES Integration
November 28, 2014
Article
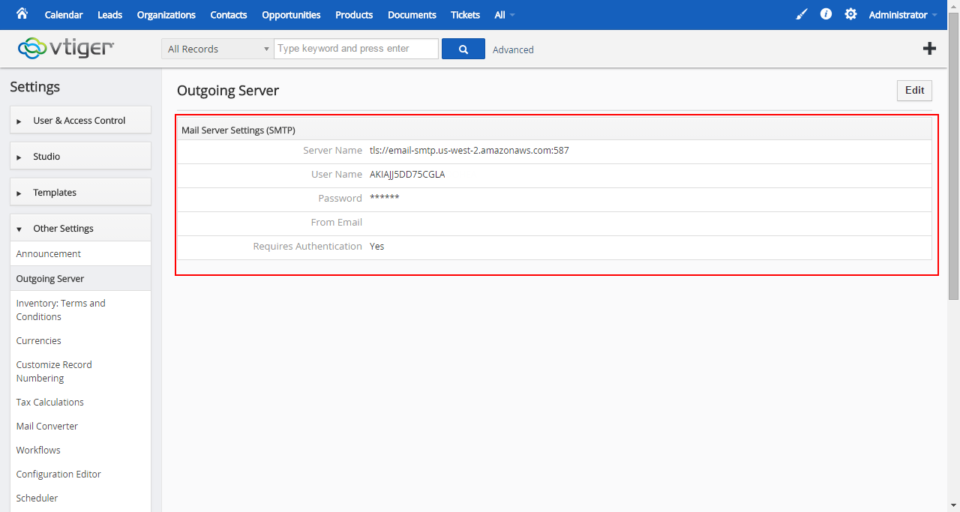
vTiger & Amazon SES Amazon Simple Email Service (Amazon SES) is a cost-effective outbound-only email-sending service built on the reliable and scalable infrastructure that Amazon.com has developed to serve its own customer base. With Amazon SES, you can send transactional email, marketing messages, or any other type of high-quality content and you only pay for what you use. vTiger has a built in Email client as well as some Email Marketing tools which require a reliable Outgoing Email Server. One of industry leaders – Amazon.com provides an excellent SMTP service which can be easily integrated with vTiger. Create Amazon Account First thing you need is an Amazon.com account. You can use the same account you use for shopping(if you have one), or just go into Amazon.com and sign up for new account. Once you have the account go to http://aws.amazon.com/ses/ and click “Sign into Console”(right upper corner), then under “Application Services” click
vTiger Office365 SMTP Outgoing Email Server Configuration
November 28, 2014
Article
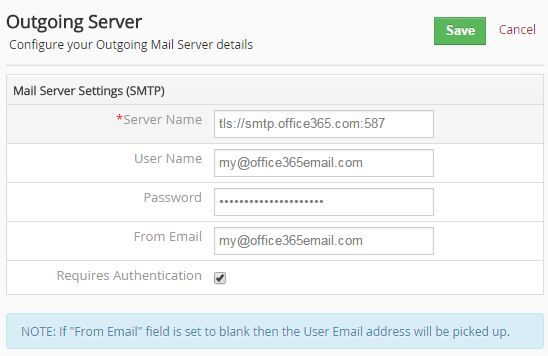
Microsoft product – Office 365 is become more and more popular and with more vTiger users use it as an Outgoing Email Server. Office 365 is similar to Google Apps which provides emails, spreadsheet and document management. One of the most common issues vTiger users run into is setting up vTiger Outgoing Email with Office365. The configuration is fairly simple, Office365 uses TLS authentication method and 587 port. Here are the sample settings that should be used with vTiger and Office365. Server Name: tls://smtp.office365.com:587 User Name: Your Office365 Email Address Password: Your Office365 Email Password From Email: Your Office365 Email Address If you have any issues configuring the vTiger Outgoing Email Server – feel free call or email us. How to get a hold of us? Email: Support@VTExperts.com Phone: 1 (818) 495-5557 Contact Form: Contact VTExperts Support Chat: Gmail/Skype/Chat via website
vTiger on Synology Drive
November 27, 2014
Article
Synology DiskStations solve a variety of problems for everyone from the casual home user to a system administrator at a large company. Sharing files, backing up several computers at once, streaming media, and hosting websites are just a sample of what these powerful devices are capable of doing. One of the apps available on Synology drive is vTiger CRM. Depending on your Synology DSM version you might have vTiger 5.x or even latest vTiger 6.1 available. We had quite a few inquires regarding the vTiger Upgrades on Synology drive as well as backups & transfers out of the drive. If you are technical enough, you should be able to follow up our vTiger Upgrade to 6.1 Guide and perform the Upgrade, however if you are having issues – feel free to contact us and we’ll help you out. The most common request is “How to move vTiger off Synology Drive?“. Again,
Importance of vTiger Database and File Backups
October 18, 2014
Article
Having a powerful platform like vTiger can really improve your customer relationship management and help you reach your business goals. However, if you don’t have the proper backup systems in place, then all of your data is at risk. With our vTiger backup services, you can be confident your data will always be safe.
Upgrade Guide: VTiger 6.0 to VTiger 6.1
October 18, 2014
Article
When your business wants to improve workflow and get the most out of customer relationship management, you undoubtedly turn to the best software on the market. When performing a VTiger 6.0 to VTiger 6.1 Upgrade, you need to have an expert on your side. No matter what type of upgrade or implementation you need for your business, our VTiger Experts are here to help you. In case you decide to attempt the migration by yourself, here’s a guide how to Upgrade VTiger 6.0 to VTiger 6.1. Backup Your VTiger Files & Database This is the most important step of the procedure. You have to make a good backup of the database and the file system. In case the migration goes south and you don’t have a valid backup – you will run into a lot of issues. Download The VTiger 6.1 Upgrade Patch VTiger 6.1 Upgrade patch can be downloaded
vTiger 6.1 Demo – EA (Early Access) is now available
August 27, 2014
Article
vTiger 6.1 Demo – EA (Early Access) is finally available for community evaluation. vTiger 6.1 has a lot of bug fixes as well as improved functionality & design. Features(Scheduled Reports, Search, Reporting Charts, RSS Module, Our Sites Module) that have been removed in 6.0 have been added on 6.1. In addition there was a major change in the vTiger Extension market – vTiger will now have a marketplace where everyone will be able to test out all available modules/extensions/addons and purchase them without having to go to the Vendor’s page. vTiger 6.1 EA Features: PHP 5.4, 5.5 support mysqli support Search within Listview Asterisk (PBXManager) Integration Scheduled Reports Report Charts Click through Charts Mass Edit for Documents Workflow for Documents RSS Module Our Sites Module Marketplace Integration (ExtensionStore) vTiger 6.1 Demo vTiger 6.1 Demo can be access using the link: http://demo.vtexperts.com/vtigercrm61ea/index.php Username: demo Password: demo *Note, the database will
vTiger Customer Portal Demo
July 11, 2014
Article
Customer Portal VTiger Customer Portal is a controlled, private, and secure platform that allows your customers to interact with their related records in CRM as well as your team. The Contacts and Organizations can access their tickets, invoices, assets, product details and order information, calendars, and what not. It also allows the Portal users (Contacts and Organizations) to easily search, view, and edit their relevant information in the VTiger CRM. The Customer Portal also enhances customer relationships by providing access to complete and up-to-date information 24/7. The Customer Portal is convenient and relevant – it contains everything that customers need in one place online. Through the well-designed customer portal, we provide customers only to access to the modules and records that is needed. Features of Customer Portal Here is a list of some of the most prominent features of VTiger Customer Portal: Controlled and secure access to Customer data from
How To Create Contacts/Organization Custom Lookup/Related To/Relationship Field in vTiger
July 10, 2014
Article
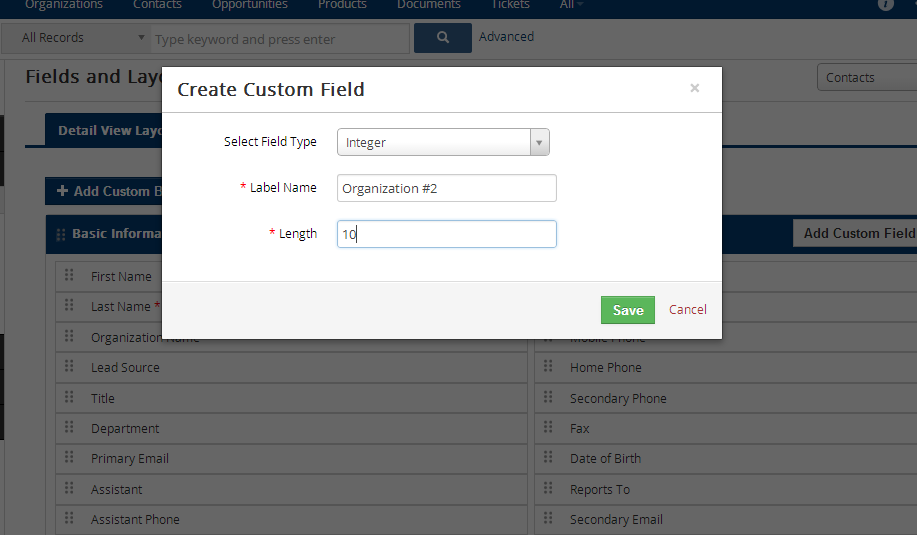
vTiger has a flexibility of creating custom picklist, text, currency… fields, however is lacking an option to create custom lookup/related to/relationship fields. We’ve created a detailed guide to walk you through creating a custom Contact or Organization relationship field. Note, it will require some knowledge of MySQL database and how to connect to it, but other than that – the steps are fairly simple. Creating a Custom Field Open Field Editor. (CRM Settings > Modules > Select the Module > Edit Fields) Create new Custom Field. Select field type as Integer as it will be storing record id. Length can be set to 10(or more if you are planning to have 10M+ records). Connecting to the vTiger Database via phpMyAdmin Easiest way to connect to vTiger Database is via phpMyAdmin. Once connected, open the table vtiger_field and find the new field just you created. The quickest way to find the
vTiger Quote/Invoice Product Price Markup
June 30, 2014
Article
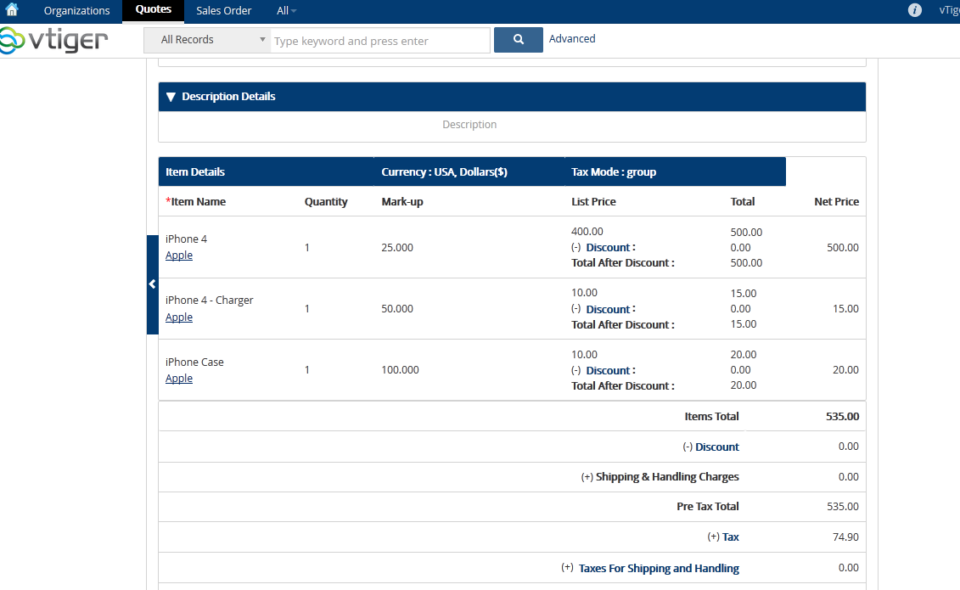
vTiger Quote/Invoice Product Price Markup will allow you to easily mark up the prices for all or individual products/services on the Quote or an Invoice. The Markup is calculated based on the Unit Price. Net Total, Tax & Grand Totals are updated based on the price markup. vTiger Quote/Invoice Product Price Markup is transferred to the Quote, Invoice & Sales Order. Demo can be found at: http://demo.VTExperts.com/markup/index.php Username: demo Password: demo Have questions or interested in this extension? Or have something in mind? Please contact us for more information!
vTiger 6.1 Demo
May 26, 2014
Article
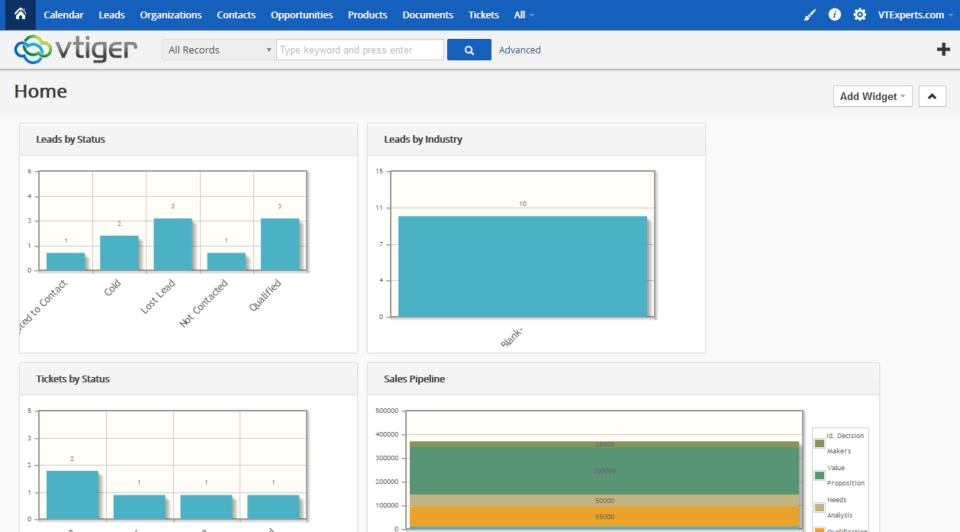
vTiger team has been working really hard to keep up with the demand of open source version of vTiger. As the release date of vTiger 6.1 is getting closer(targeting the end of June) most of the functionality is already available in the TRUNK for public to testing. vTiger 6.1 includes 70+ bug fixes and enhancements. List of bugs fixed in vTiger 6.1 Demo can be found at their official announcement page. Few things you will notice in vTiger 6.1 Demo that vTiger 6.0 does not have is: Enhanced Listview Search – vTiger has really stepped up it’s game and improved the search capabilities significantly. PBX Manager – A long waited add-on which was not part of the 6.0 release is now available on vTiger 6.1 More color Themes – Individual users can now select their theme using the icon on the menu bar. Redesigned interface – vTiger 6.0 had a completely
vTigerCRM 6 RC Is Now Available!
December 19, 2013
Article
vTiger CRM 6 RC Has finally arrived! vTiger CRM 6 is a complete overhaul of the previous versions. vTiger CRM 6 has more modern and elegant look, a lot of improved functionality such as ability to add & link records on the fly, be able to see the records in a summary view, a more efficient way of seeing updates & linked activities as well as improved field & related list manager and many more.. The Installation of vTiger CRM 6 RC is a straight forward operation. Before you start the vTiger CRM 6 RC Installation – make sure you server is compatible with it. Make sure that your server has: Apache 2.1+ MySQL 5.1+ PHP 5.2+, 5.3 php-imap php-curl php-xml max_memory (min. 256MB) max_execution_time (min. 60 seconds) Once confirmed – move on to the vTiger CRM 6 RC Installation. 1. Download vTiger CRM 6 RC from one of the links
VTiger CRM 5.4 to vTiger CRM 6.0 Upgrade/Migration Tool
December 9, 2013
Article
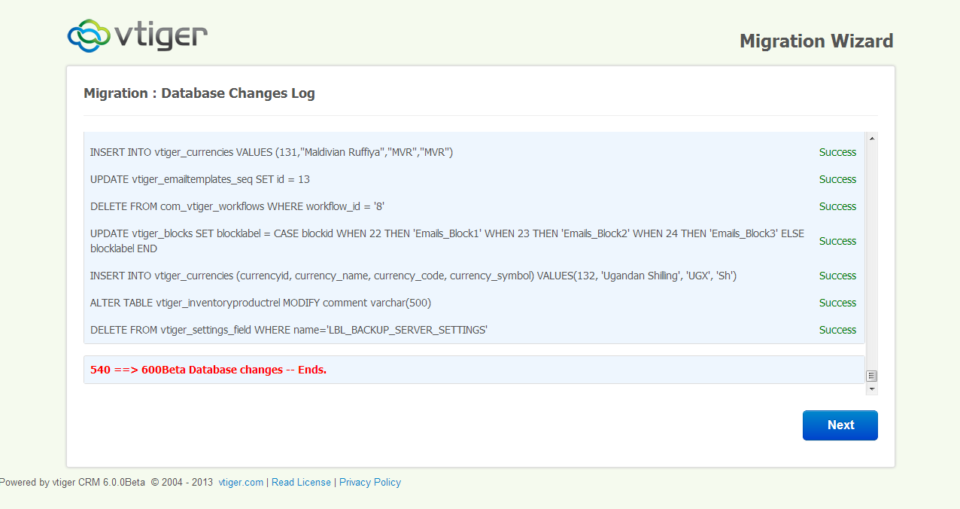
Long waited vTiger CRM 5.40 Upgrade/Migration Tool to vTiger CRM 6.0 has been released. Since there’s no stable or RC version of vTiger CRM 6.0 – this migration/upgrade tool only works with the beta version. According to vTiger CRM developers, this should not be used for production and is only for testing purposes, however if you want to move quickly and can not wait for RC/Stable version – you should be able to upgrade your vTiger CRM 5.40 to vTiger CRM 6.0. We’ve done few migrations already and it seems to be working as expected. The migration/upgrade process is quick and easy to perform, however if you don’t feel comfortable doing it – feel free to contact us and we’ll help you out. First and the most important step is – backups.You have to take a backup of you existing vTiger CRM database and the file structure. The way the
How to Create a Custom Module In vTigerCRM 6?
September 25, 2013
Article
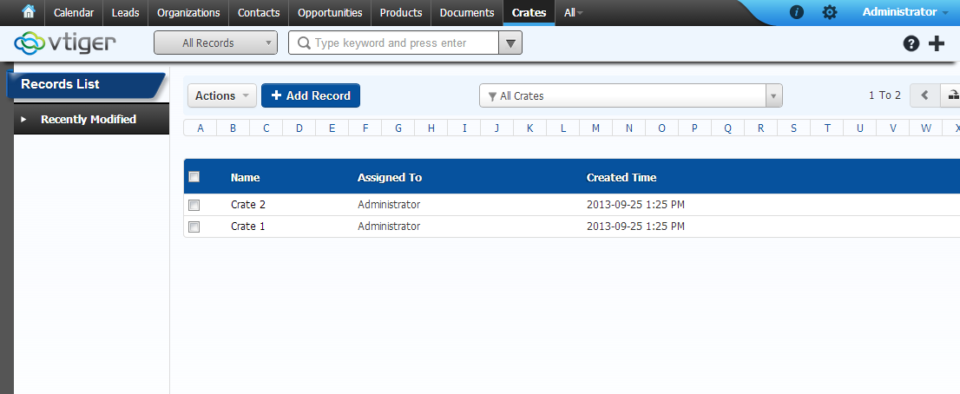
vTiger 6 came out with a very useful and easy to use tool to create custom modules. Unfortunately, the tool is not part of the user interface, however with a very little knowledge of unix and ability to navigate using SSH connection – you will be able to create a vTiger custom module within few seconds. Firs thing you need to do is find out how to connect to your server via SSH. For those how are using shared hosting, it is not always an option, so you should check with your hosting provider if this option is available. Assuming you have access and know how to connect, go ahead connect to the server and navigate to your vTiger directory. The tool is located at /yourvtigercrm6/vtlib/tools/ folder, go ahead and navigate to that folder, assuming you are in your vTiger6 folder, you would just do cd vtlib/tools/ There is a file
How to Change Default “Select Popup” Columns in vTiger?
August 30, 2013
Article
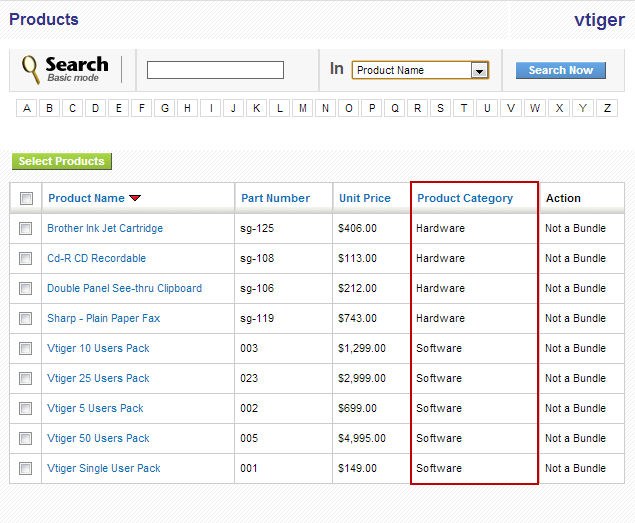
Out of the box vTiger does not allow users to configure the “Select Popup” columns using the interface. The work around requires some knowledge of vTiger database structure and basic php skill. The “Select Popup” is a popup which shows up when you click “Select Products” or “Select Services” or when you click on any “Select” button on the system. Note, once you change the columns for one module – the same columns will be displayed system wide. For example, if you change “Product” columns – every time you “Select Product” – customized columns will show up. The procedure below describes how to add “Product Category” to the “Select Popup” in vTiger. Go to “/vtigercrm/modules/Products“ Open “Products.php” with your favorite text editor Find the function “$list_fields” and add the desired field label, table and field name. Again, this requires some knowledge of database and php, but you should be able
How to Create Description Type Field/One Column Layout in vTiger?
August 30, 2013
Article
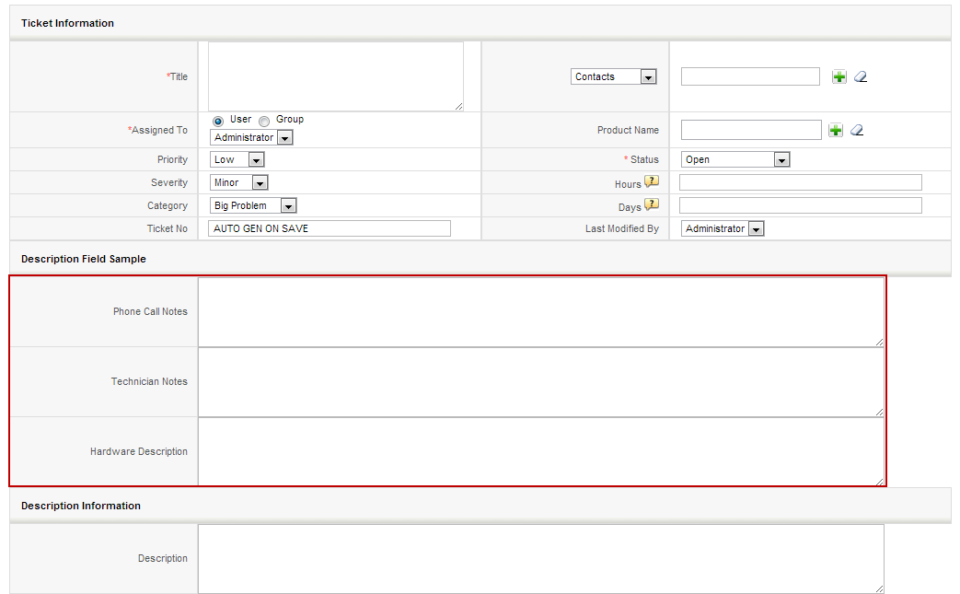
By Default vTiger does not allow to create “Description Type” fields using the “Field Layout Editor“. The “Description Type” vTiger field is a field which takes up the whole row in the block and no other field can be added next to it. In order to add the “Description Type” field in vTiger, you will have to: Create a “Text Area” Custom field. It’s just a custom field but the type is “Text Area” Next, you will need to modify the database. If you don’t feel comfortable doing that, please contact us and we’ll help you out with it. Connect to your vTiger MySQL Database Open table “vtiger_field“ Find the fields you just created set “uitype” to “19“ Save the changes and refresh the record screen. You will notice that the custom fields are now stretching through out the entire block. Note, you can also accomplish “One Column Layout” view
How to Change vTiger Global Search Result Columns/Fields?
August 30, 2013
Article
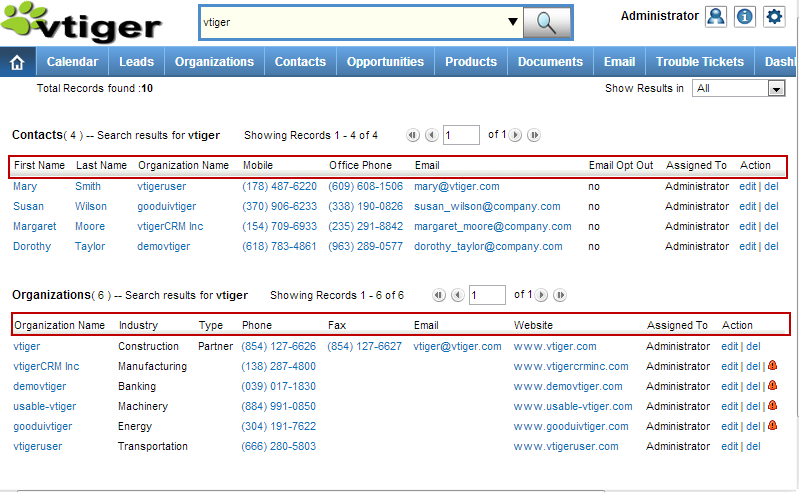
Out of the box vTiger does not have an option to change the Global Search Result Columns/Fields in the User Interface, however there’s a way around. Basically – you need to create a vTiger filter and specify the columns you want to see. Note, the filter does not have to be set as default, but has to be public. In addition, in order for it to work, you will have to create filters for all the modules you want to use in the search, in other words, the filter you create will be used to display search results, and if the filter does not exist, it will not show any results, so again each module that you want included in the search should the the filter created. The filter name should be the same for all modules. Once you have the filters created, the next step is to specify which
How to Change Listview Columns for any Module in vTiger?
August 30, 2013
Article
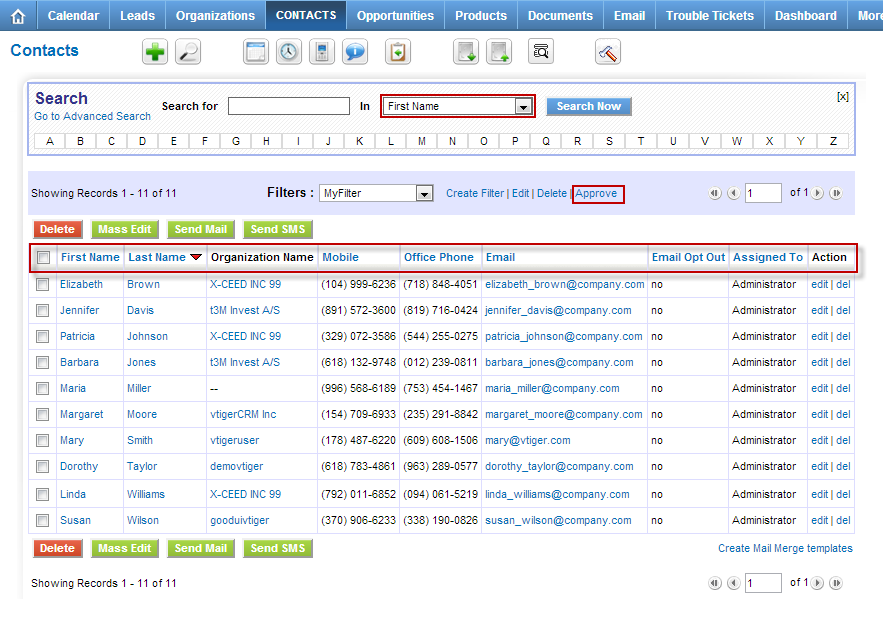
By Default vTiger has a filter “All” which contains the commonly used fields, however sometimes those fields are not enough and it would be nice to include other fields into “All” filter. Unfortunately, you can not edit “All” filter using the user interface, however there’s a work around. In order to specify the columns we always want to see, we will have to create a custom filter and set it as public & default. I will explain how to do that for Contact module – you can follow the same procedure for any standard or custom vTiger module. Go to Contact List Click “Create Filter” Enter “View Name” which is a filter name Check “Set as Default” – when checked – it will always open this filter as default Check “Set as Public” – filter will be public and other user will be able to use it as well Choose
How to Change Default Trouble Ticket Order In Listview?
August 30, 2013
Article
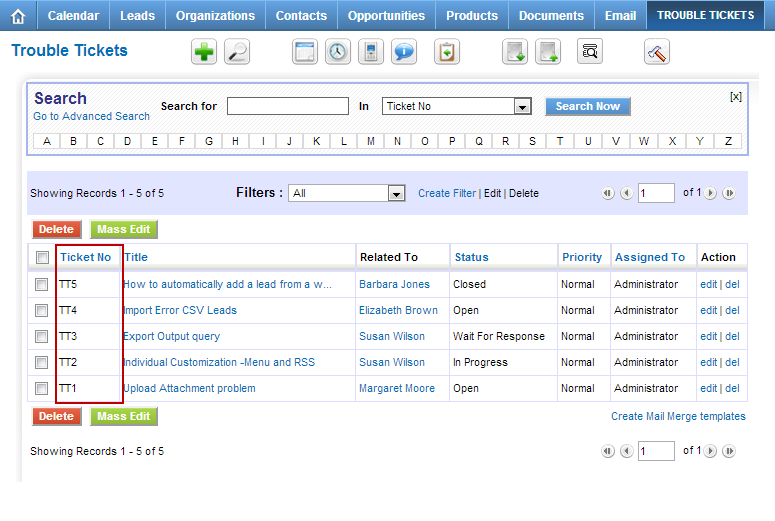
Out of the box vTiger does not have a Graphical user interface to control the default sort order for listviews. Each business is different and everyone has their own needs. In order to change the default sorting order on Trouble Tickets listview – you will have to modify few files. First, we need to set the default sorting field and order. Go to /vtigercrm/modules/HelpDesk/ Open file “HelpDesk.php” Find a line which has “var $default_order_by” and change the value to preferred sort field. Note, it should be field name and not the field label. The line below will be “var $default_sort_order” – By default it’s set to DESC (descending order), it can be changed to ASC (ascending order) if needed. Once changes are made, save the file. Second, we need to enable the default sort order. Go to /vtigercrm/ Open file “config.performance.php” Find line which as “‘LISTVIEW_DEFAULT_SORTING‘” and change it to
How to Disable Email Notifications for Trouble Tickets/Opportunities?
August 29, 2013
Article
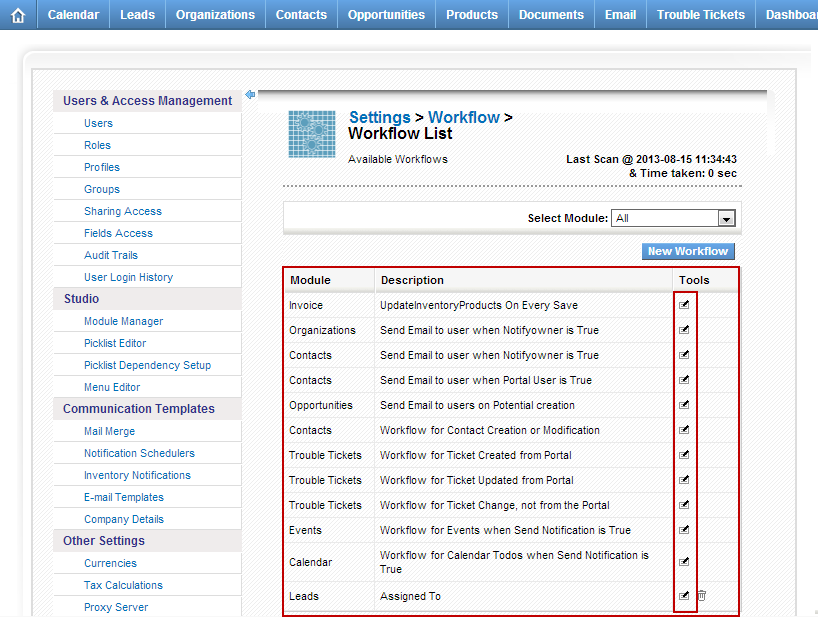
Out of the box vTiger comes with few email notifications already enabled. The notifications are triggered when: Opportunity is created Trouble Ticket has been updated from Customer Portal Trouble Ticket has been created from Customer Portal New Comment has been added to the Trouble Ticket These notifications are triggered by vTiger workflow. To turn the notifications off, you would do: Mouse over the “gear” icon on the right upper corner Click “CRM Settings” Under “Other Settings” click “Workflow“ Click on the Workflow you want to disable Scroll down to “Tasks” section and modify the Task Once the task opens, set the “Status” to “Inactive” and save the task.
How to Send an Email using vTiger User’s Email Address?
August 29, 2013
Article
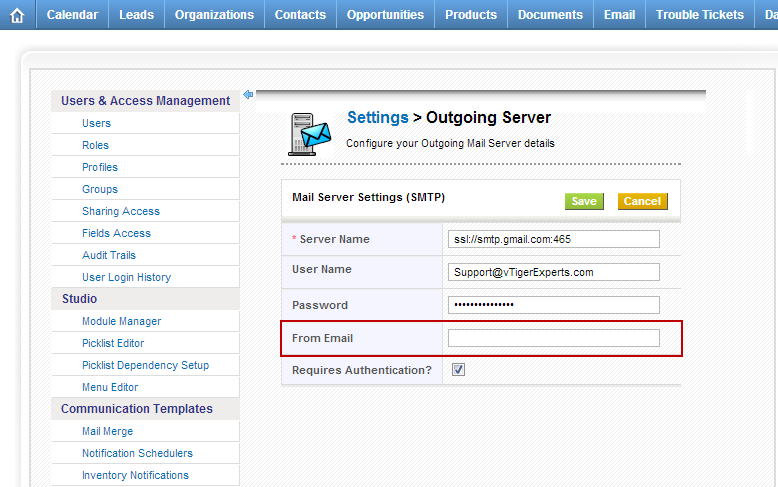
Out of the box vTiger already has ability to have Email “FROM” Address as logged in user’s email address. It’s very simple – when setting up a vTiger Outgoing Email Server you should NOT specify the “FROM” Email Address. If the “FROM” Email Address is not specified the system will use logged in user’s email address as “FROM” Address when sending an email.
How to Change Field Labels in vTiger?
August 28, 2013
Article
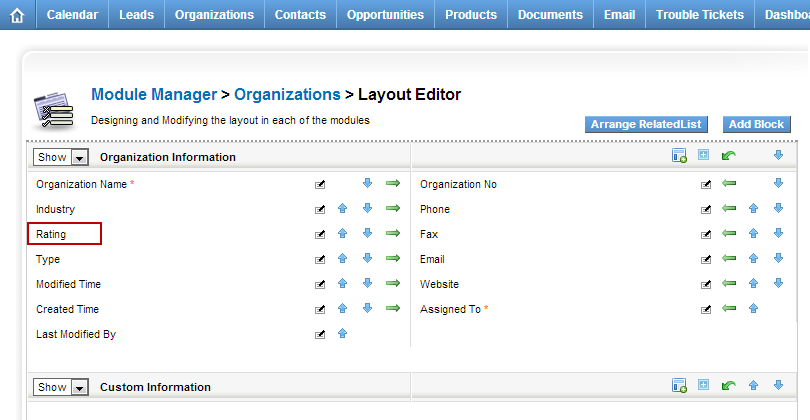
Unfortunately vTiger does not have an option to change the field labels using the user interface. However, there are few ways to do it. Let’s say we want to modify the field label for Account field “Rating”. The first and the easiest method is to modify the vTiger language file and replace the existing field labels with new ones. Go to “/vtigercrm/modules/Accounts/language/“ Open “en_us.lang.php” with your favorite text editor Find the word “Rating” and replace it with the new label. Save the file and refresh the Contact screen – the new label should show up. The second method requires knowledge of MySQL database structure, so if you are not familiar with tables and field, you are better of going with method one or three. Connect to your vTiger database Find table ‘vtiger_field‘ Run the query ‘select * from vtiger_field where fieldlabel=’Rating’;‘ Edit the row and change the fieldlabel value to
How to Change Document Maximum Upload Size in vTiger?
August 28, 2013
Article
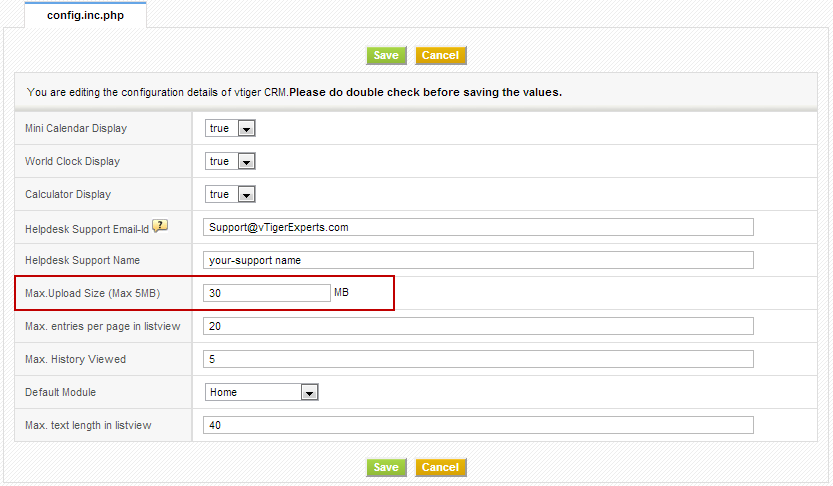
Out of the box vTiger has a limit of 3MB for the file upload when creating and uploading an external document to vTiger. In order to increase the file limit, you have to set it in vTiger Configuration Editor as well as in you servers’ php.ini file. vTiger Configuration Editor: Mouse over the “gear” icon on the right upper corner Click “CRM Settings” Under “Other Settings” section, hit “Configuration Editor” Find “Max. Upload Size (Max XMB)” and set it to 30MB(you can set it to higher number if needed). Save the Configuration Editor by clicking “Save”. Server Configuration – php.ini. If you are on shared hosting, most likely you will not have access to php.ini – you should contact your hosting provider to adjust the values. However, if you do have access, follow the instructions below: Open php.ini with your favorite text editor Find “post_max_size = XXMB” and change it


