vTiger Tweaks
vTiger 6.1 Demo
May 26, 2014
Article
vTiger team has been working really hard to keep up with the demand of open source version of vTiger. As the release date of vTiger 6.1 is getting closer(targeting the end of June) most of the functionality is already available in the TRUNK for public to testing. vTiger 6.1 includes 70+ bug fixes and enhancements. List of bugs fixed in vTiger 6.1 Demo can be found at their official announcement page. Few things you will notice in vTiger 6.1 Demo that vTiger 6.0 does not have is: Enhanced Listview Search – vTiger has really stepped up it’s game and improved the search capabilities significantly. PBX Manager – A long waited add-on which was not part of the 6.0 release is now available on vTiger 6.1 More color Themes – Individual users can now select their theme using the icon on the menu bar. Redesigned interface – vTiger 6.0 had a completely
vTigerCRM 6.0 GA Released
January 10, 2014
Article
vTiger has just announced the release of vTiger CRM 6.0.0 GA. This is very exciting news for everyone who has been waiting to finally start using the new and improved vTiger 6. vTigerCRM 6.0 GA can be downloaded from vtiger.com. The vTiger CRM Migration/Upgrade Tool is also available for those who want to upgrade from vTigerCRM 5.4 to vTigerCRM 6.0. You will find the migration tool on vtiger.com. In case you need help with the upgrade process – please refer to the “vTiger CRM 5.4 to vTiger CRM 6.0 Upgrade/Migration Tool” article. If you run into any issues or want the professional to do the upgrade for you – please give us a call or send us an email.
vTigerCRM 6 RC Is Now Available!
December 19, 2013
Article
vTiger CRM 6 RC Has finally arrived! vTiger CRM 6 is a complete overhaul of the previous versions. vTiger CRM 6 has more modern and elegant look, a lot of improved functionality such as ability to add & link records on the fly, be able to see the records in a summary view, a more efficient way of seeing updates & linked activities as well as improved field & related list manager and many more.. The Installation of vTiger CRM 6 RC is a straight forward operation. Before you start the vTiger CRM 6 RC Installation – make sure you server is compatible with it. Make sure that your server has: Apache 2.1+ MySQL 5.1+ PHP 5.2+, 5.3 php-imap php-curl php-xml max_memory (min. 256MB) max_execution_time (min. 60 seconds) Once confirmed – move on to the vTiger CRM 6 RC Installation. 1. Download vTiger CRM 6 RC from one of the links
VTiger CRM 5.4 to vTiger CRM 6.0 Upgrade/Migration Tool
December 9, 2013
Article
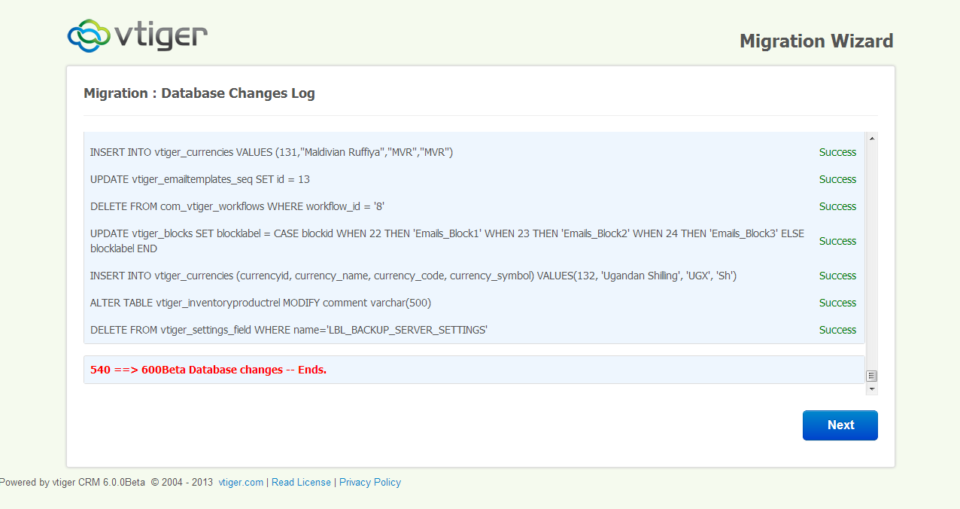
Long waited vTiger CRM 5.40 Upgrade/Migration Tool to vTiger CRM 6.0 has been released. Since there’s no stable or RC version of vTiger CRM 6.0 – this migration/upgrade tool only works with the beta version. According to vTiger CRM developers, this should not be used for production and is only for testing purposes, however if you want to move quickly and can not wait for RC/Stable version – you should be able to upgrade your vTiger CRM 5.40 to vTiger CRM 6.0. We’ve done few migrations already and it seems to be working as expected. The migration/upgrade process is quick and easy to perform, however if you don’t feel comfortable doing it – feel free to contact us and we’ll help you out. First and the most important step is – backups.You have to take a backup of you existing vTiger CRM database and the file structure. The way the
How to Create a Custom Module In vTigerCRM 6?
September 25, 2013
Article
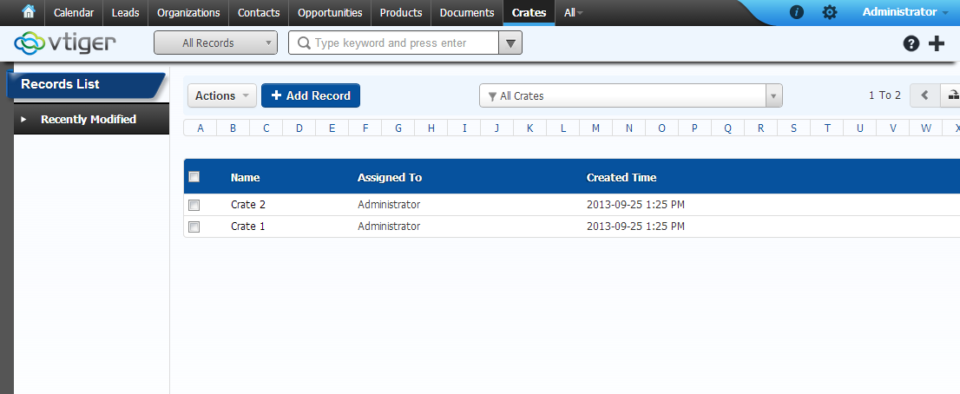
vTiger 6 came out with a very useful and easy to use tool to create custom modules. Unfortunately, the tool is not part of the user interface, however with a very little knowledge of unix and ability to navigate using SSH connection – you will be able to create a vTiger custom module within few seconds. Firs thing you need to do is find out how to connect to your server via SSH. For those how are using shared hosting, it is not always an option, so you should check with your hosting provider if this option is available. Assuming you have access and know how to connect, go ahead connect to the server and navigate to your vTiger directory. The tool is located at /yourvtigercrm6/vtlib/tools/ folder, go ahead and navigate to that folder, assuming you are in your vTiger6 folder, you would just do cd vtlib/tools/ There is a file
How to Change Default “Select Popup” Columns in vTiger?
August 30, 2013
Article
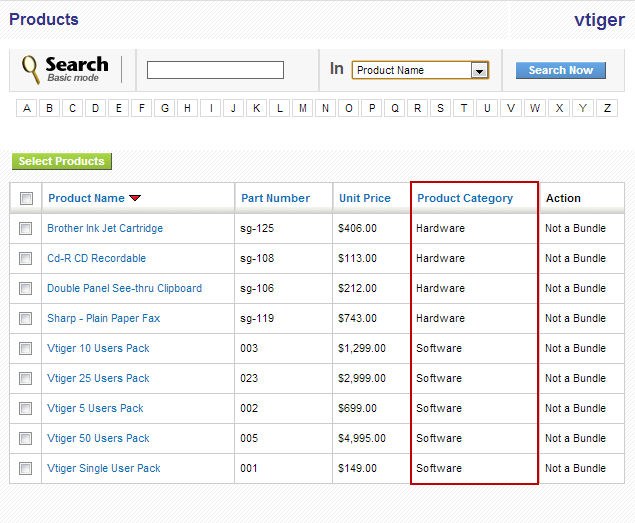
Out of the box vTiger does not allow users to configure the “Select Popup” columns using the interface. The work around requires some knowledge of vTiger database structure and basic php skill. The “Select Popup” is a popup which shows up when you click “Select Products” or “Select Services” or when you click on any “Select” button on the system. Note, once you change the columns for one module – the same columns will be displayed system wide. For example, if you change “Product” columns – every time you “Select Product” – customized columns will show up. The procedure below describes how to add “Product Category” to the “Select Popup” in vTiger. Go to “/vtigercrm/modules/Products“ Open “Products.php” with your favorite text editor Find the function “$list_fields” and add the desired field label, table and field name. Again, this requires some knowledge of database and php, but you should be able
How to Create Description Type Field/One Column Layout in vTiger?
August 30, 2013
Article
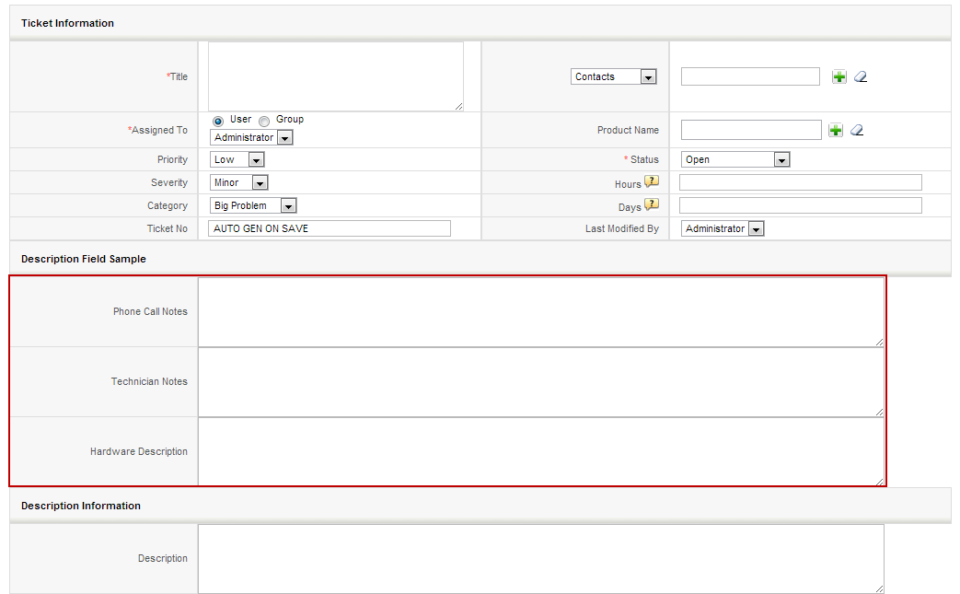
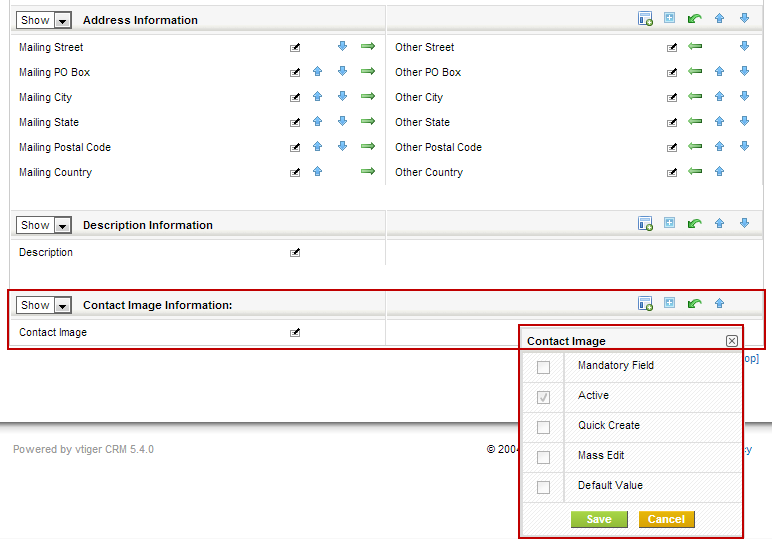
By Default vTiger does not allow to create “Description Type” fields using the “Field Layout Editor“. The “Description Type” vTiger field is a field which takes up the whole row in the block and no other field can be added next to it. In order to add the “Description Type” field in vTiger, you will have to: Create a “Text Area” Custom field. It’s just a custom field but the type is “Text Area” Next, you will need to modify the database. If you don’t feel comfortable doing that, please contact us and we’ll help you out with it. Connect to your vTiger MySQL Database Open table “vtiger_field“ Find the fields you just created set “uitype” to “19“ Save the changes and refresh the record screen. You will notice that the custom fields are now stretching through out the entire block. Note, you can also accomplish “One Column Layout” view
How to Change vTiger Global Search Result Columns/Fields?
August 30, 2013
Article
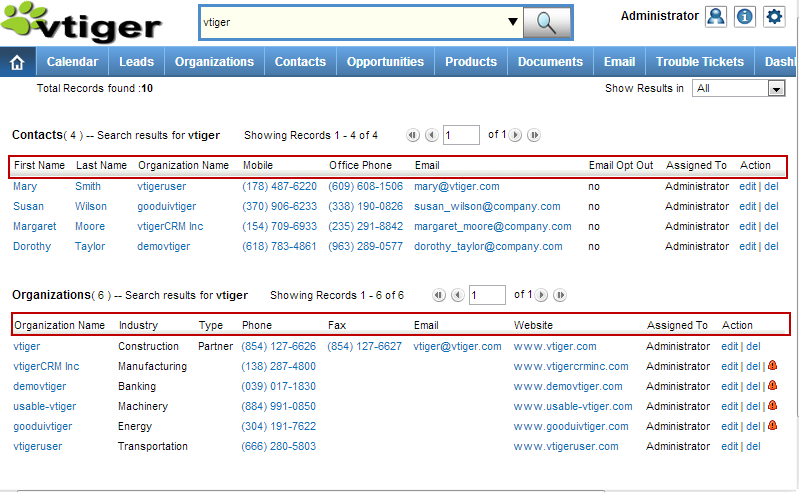
Out of the box vTiger does not have an option to change the Global Search Result Columns/Fields in the User Interface, however there’s a way around. Basically – you need to create a vTiger filter and specify the columns you want to see. Note, the filter does not have to be set as default, but has to be public. In addition, in order for it to work, you will have to create filters for all the modules you want to use in the search, in other words, the filter you create will be used to display search results, and if the filter does not exist, it will not show any results, so again each module that you want included in the search should the the filter created. The filter name should be the same for all modules. Once you have the filters created, the next step is to specify which
How to Clean Up vTiger Login Page
August 30, 2013
Article
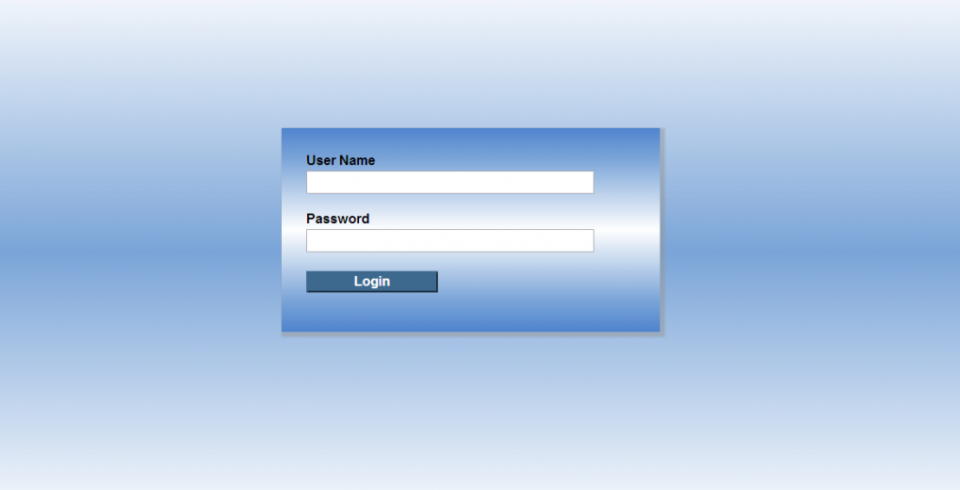
Default vTiger Login Page has a lot of elements which are just advertisements or links to their website. As a business you usually would not want to see something like that. There’s an easy fix to remove all of those elements. You can either follow the instructions below and do it yourself or just download the cleaned up login page. Instructions: Go to “vtigercrm/Smarty/templates/” Open Login.tpl Go to Line 22, it should be blank, add <!– Go to Line 64, it should be blank, add –> Go to Line 67, there should be “<div>Powered by vtiger CRM – {$VTIGER_VERSION}</div>“, add <!– and –> around it: <!– <div>Powered by vtiger CRM – {$VTIGER_VERSION}</div> –> Go to Line 91, there should be “<div> class=”importantLinks”>”, add <!– in front of it: <!– <div> class=”importantLinks> Go to Line 97, there should be “<div>”, add –> at the end of it: <div> –> Go to
How to Change Default Trouble Ticket Order In Listview?
August 30, 2013
Article
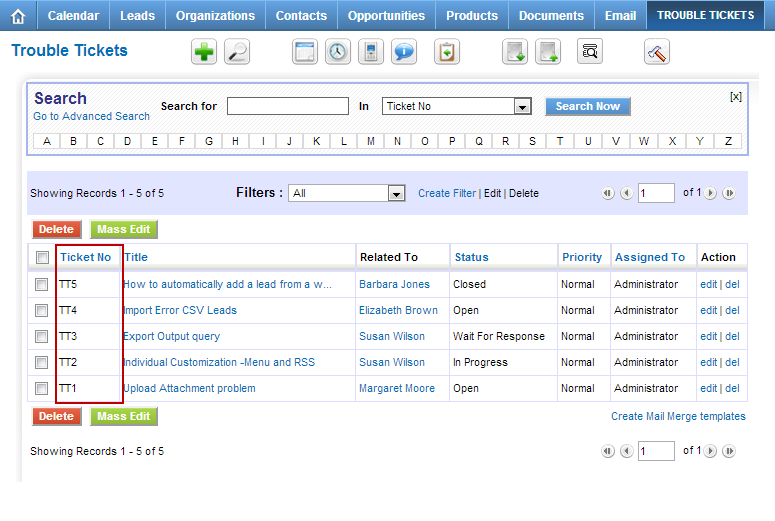
Out of the box vTiger does not have a Graphical user interface to control the default sort order for listviews. Each business is different and everyone has their own needs. In order to change the default sorting order on Trouble Tickets listview – you will have to modify few files. First, we need to set the default sorting field and order. Go to /vtigercrm/modules/HelpDesk/ Open file “HelpDesk.php” Find a line which has “var $default_order_by” and change the value to preferred sort field. Note, it should be field name and not the field label. The line below will be “var $default_sort_order” – By default it’s set to DESC (descending order), it can be changed to ASC (ascending order) if needed. Once changes are made, save the file. Second, we need to enable the default sort order. Go to /vtigercrm/ Open file “config.performance.php” Find line which as “‘LISTVIEW_DEFAULT_SORTING‘” and change it to
How to Change Default “Related To” From Organizations to Contacts?
August 28, 2013
Article
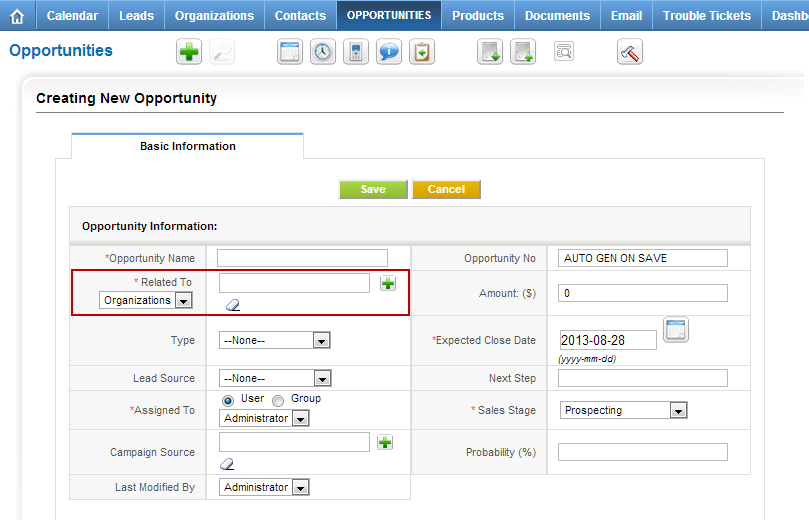
Out of the box vTiger does not support setting the default “Related To” dropdown values. The “Related To” dropdown is used in many modules such as “Trouble Tickets”, “Opportunities”, “Projects”, “Service Contracts”, etc… In order to change the default “Related To” value from Organizations to Contacts, you will have to adjust the database. Note, if you are not familiar with MySQL and the database structure, you are better off having someone else do it. We would be glad to help – Contact us. The table that needs to be modified is ‘vtiger_fieldmodulerel‘. Open the table and you will see the first 2 rows are: You need to change the “relmodule” value to switch “Accounts” with “Contacts” and “Contacts” with “Accounts“. Whenever you start a new Opportunity/Potential the default “Related To” value will be the the first one for the “module”. The end result should be: Again, if you need help
How to Change Field Labels in vTiger?
August 28, 2013
Article
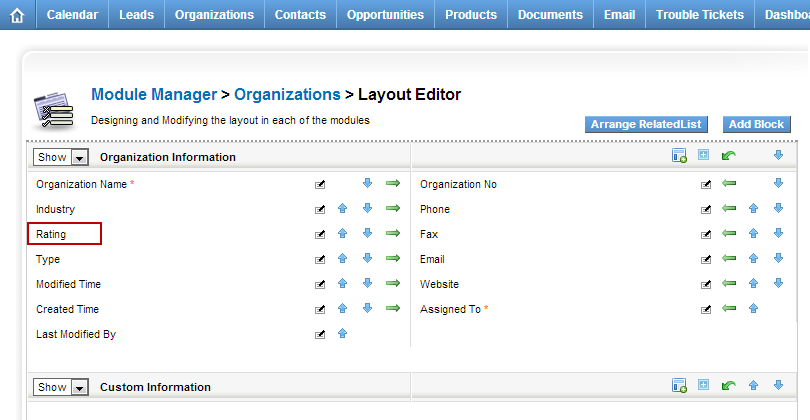
Unfortunately vTiger does not have an option to change the field labels using the user interface. However, there are few ways to do it. Let’s say we want to modify the field label for Account field “Rating”. The first and the easiest method is to modify the vTiger language file and replace the existing field labels with new ones. Go to “/vtigercrm/modules/Accounts/language/“ Open “en_us.lang.php” with your favorite text editor Find the word “Rating” and replace it with the new label. Save the file and refresh the Contact screen – the new label should show up. The second method requires knowledge of MySQL database structure, so if you are not familiar with tables and field, you are better of going with method one or three. Connect to your vTiger database Find table ‘vtiger_field‘ Run the query ‘select * from vtiger_field where fieldlabel=’Rating’;‘ Edit the row and change the fieldlabel value to
Invoice/Quote/Sales Order Default to Service instead of Product.
July 18, 2013
Article
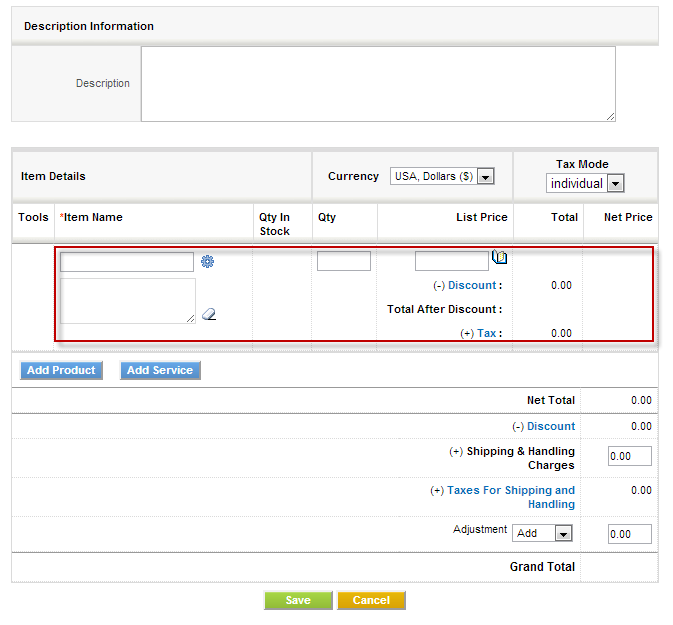
By default when you start Invoice, Quote or Sales Order the item defaults to products. This is not convenient for businesses who are oriented towards services, however there’s a quick tip how to change the first line item to services. We strongly recommend to backup vTiger files and database before doing any changes to code/database. Navigate to “vtigercrm/Smarty/templates/Inventory/ProductDetails.tpl” Go to line 172, the line should be: <img id=”searchIcon1″ title=”Products” src=”{‘products.gif‘|@vtiger_imageurl:$THEME}” style=”cursor: pointer;” align=”absmiddle” onclick=”productPickList(this,’{$MODULE}’,1)” /> Change it to: <img id=”searchIcon1″ title=”Services” src=”{‘services.gif‘|@vtiger_imageurl:$THEME}” style=”cursor: pointer;” align=”absmiddle” onclick=”servicePickList(this,’{$MODULE}’,1)” /> Save files and you are set.
Add “Last Modified By” Field
July 18, 2013
Article
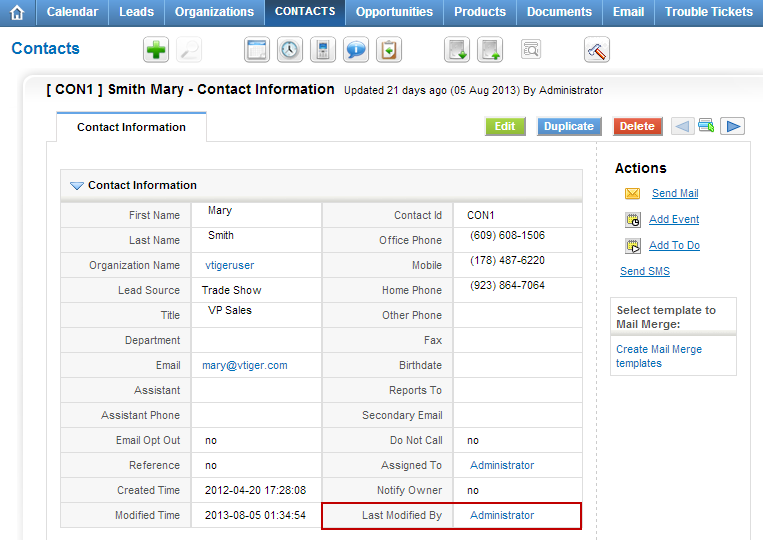
By default the “Last Modified By” field is hidden in vTiger, however all the functionality and the actual field is there. In order to unhide it you will have modify the database. We strongly recommend to backup vTiger files and database before doing any changes to code/database. You will need to run the query below: UPDATE vtiger_field SET presence=’0′, displaytype=’1′ WHERE fieldlabel=’Last Modified By’ AND columnname=’modifiedby’ AND tablename=’vtiger_crmentity’; Note, this query will enable Last Modified By field for ALL the modules, if you wan’t to enable it for just one module you will have to add “AND tabid=’Tab ID goes here’”; You will have to lookup tabid for the specific module in vtiger_tab.


Activate or Deactivate Comments Section/Block in VTigerCRM