Professional email is an essential tool in expanding business and capturing more market share. For designing professional email, we provide you with the Email Designer extension in Vtiger. It is an easy to use tool where you use modern drag-n-drop editor to compose interactive emails.
How to Install Email Designer
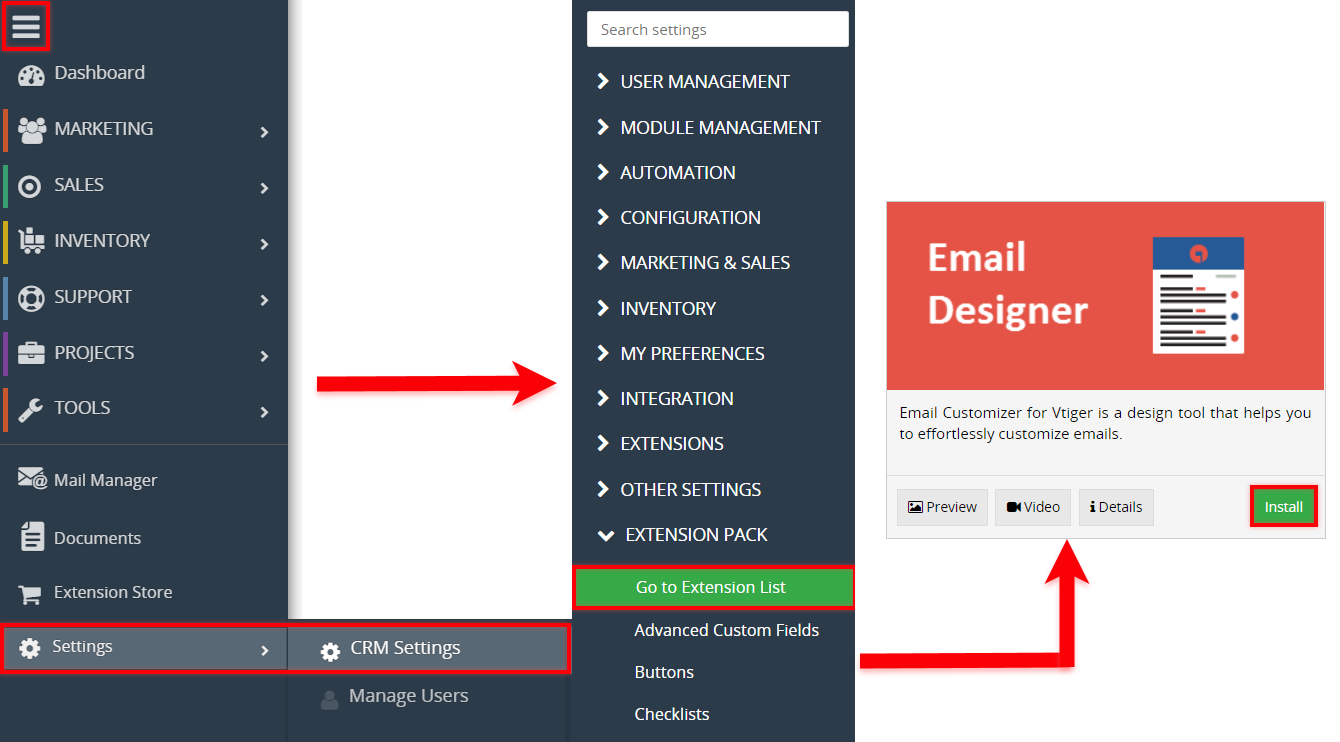
Email Designer can be installed by going into CRM Settings > Extension Pack List > locate or search for “Email Designer”. Click the install button to begin
Configuration
Once the extension is installed, you can start creating new templates by going to the Main Menu > Tools > Email Designer
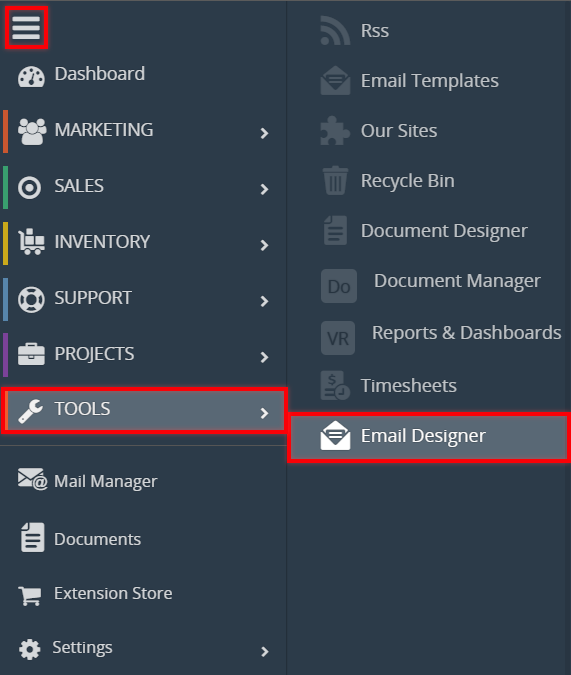
Click “Add Email Template”
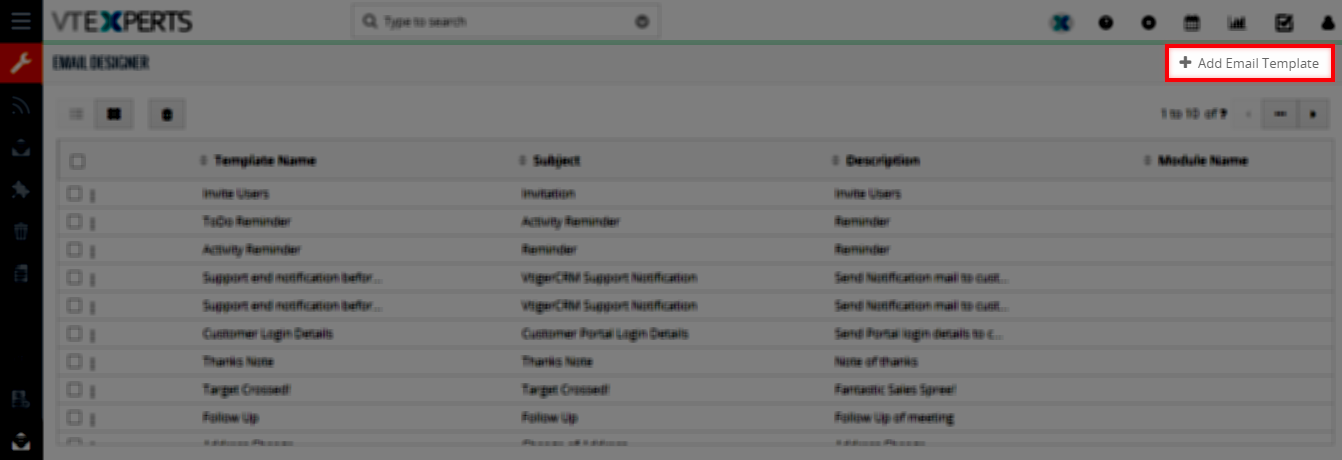
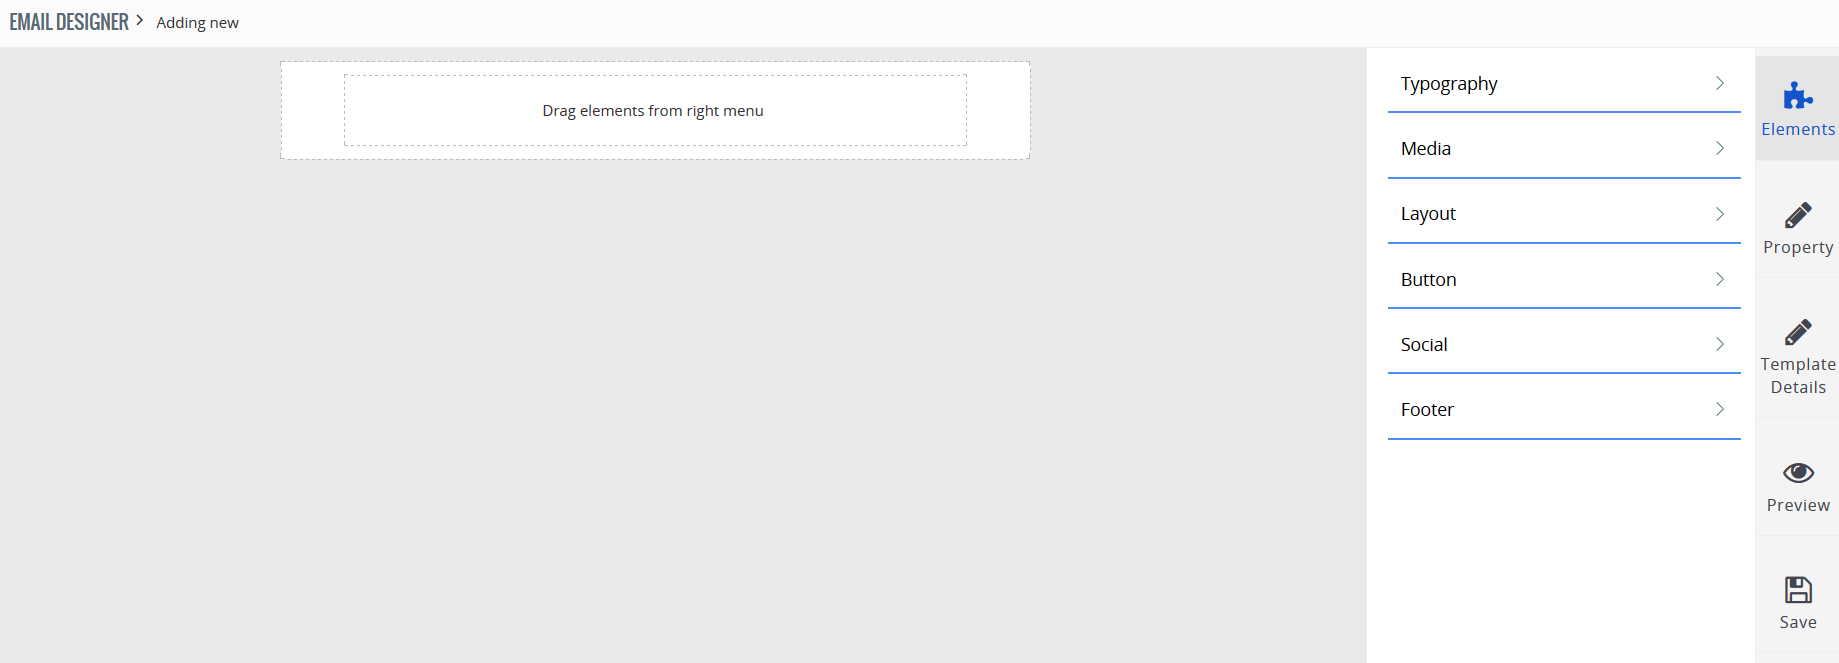
It will take you to the page where you can design new template for your email marketing campaign.
Lets understand how to use the Email Designer to create a good looking template.
Elements
Elements are the basic features that are usually incorporated in almost every single email template. Email Designer provides you access to the Typography, Media, Layout, Button, Social and Footer features. All these elements will be explained further in this article.
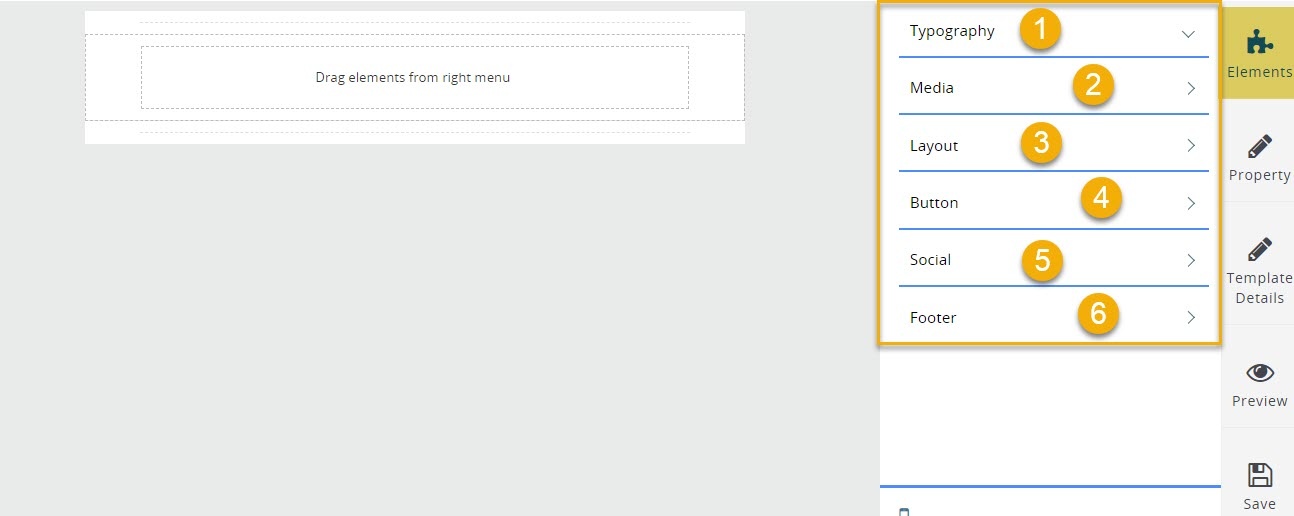
Typography
Typography is an important element while designing the emails, it also has some technical aspects as well. Typography is basically well-arranged texts to grab the attention of the reader in terms of visual communication. It is an important part of emails and can cause significant impact on the decision making of the reader. Typography Tab contains features like interesting page header, heading, paragraph, 2 column text etc.
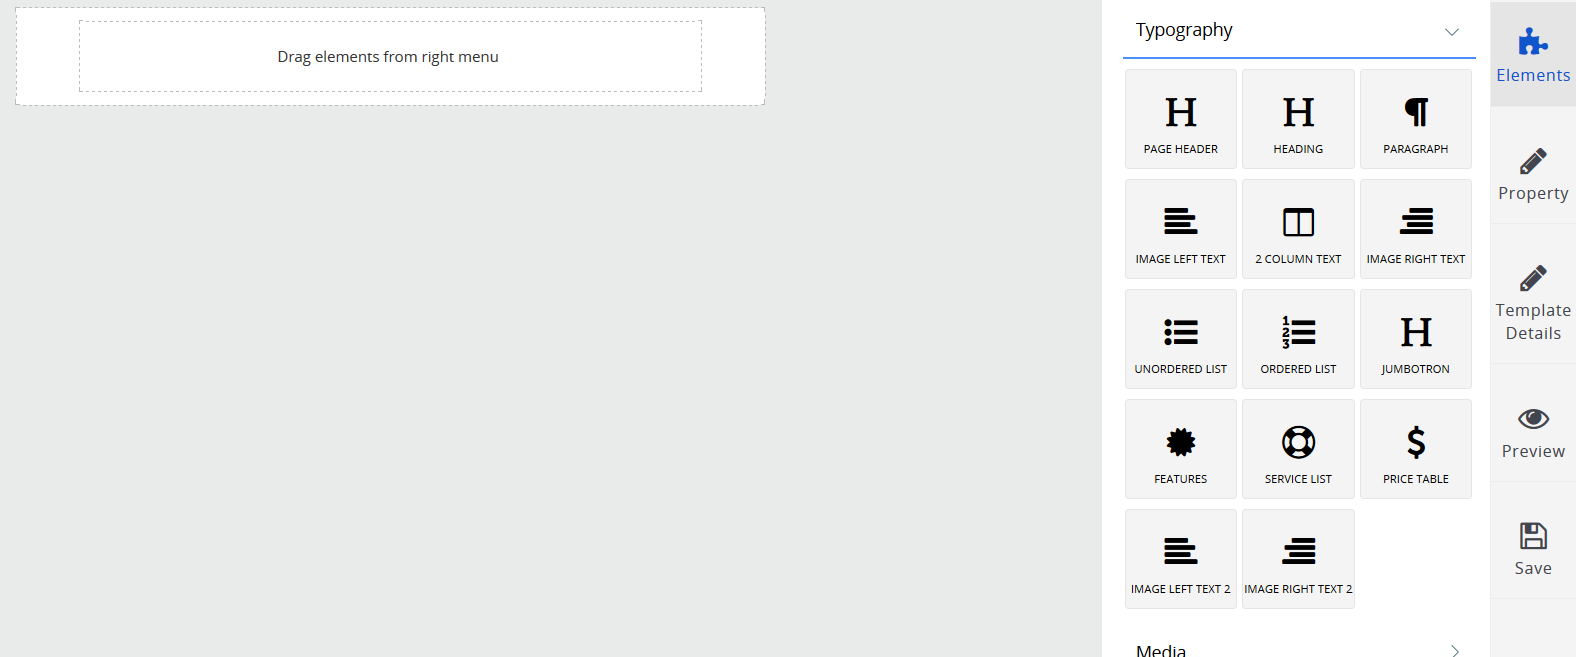
- Page Header: Add important information to the email header. You can use Padding and Merge Fields options to customize the header further
- Heading : Allows to add header of the page. You can change header size, color, font, alignment. Again, you can adjust padding and merge fields into headings as well.
-
Paragraph: This is basically the text box to input any data as required. As other text boxes, it comes with the options to customize the text font, size, color, alignment, padding, as well as merge fields from CRM to customize the email templates.
-
Image Left Text : Allows to add an image to a text box. The image is aligned left while you can write the text to the right of the image. You can upload the image or add the URL of the image.
-
2 Column Text : Allows to add 2 columns to of text entitled by the corresponding images.
- Image Right Text :This option allows to place image or picture on the right side of the text as shown below. You can change background color , border radius and image setting as explained earlier.
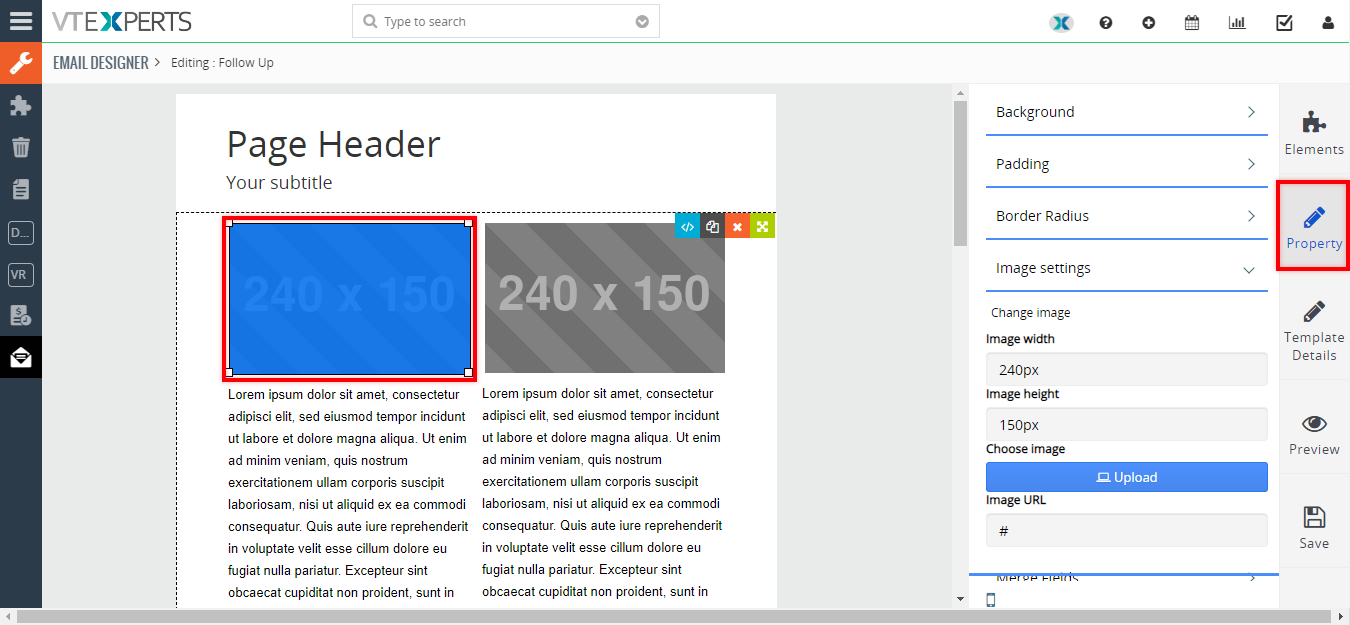
- Image Boxes: All the above mentioned image boxes can be customized by clicking on the box. Once clicked, it opens the “Property” section of the image. You can upload an image or insert from URL, as well as adjust image width and height.
- Un-ordered List/ordered list : An unordered list is a collection of related items that have no special order or sequence. You can add an unordered list email template. Same as unordered you can also add ordered list in your template. The difference is that in ordered list instead of bullet points you will numbers on the left side. Here is a example of unordered list.
 Now you can compare it with Ordered list. Below this you can see example of ordered list.
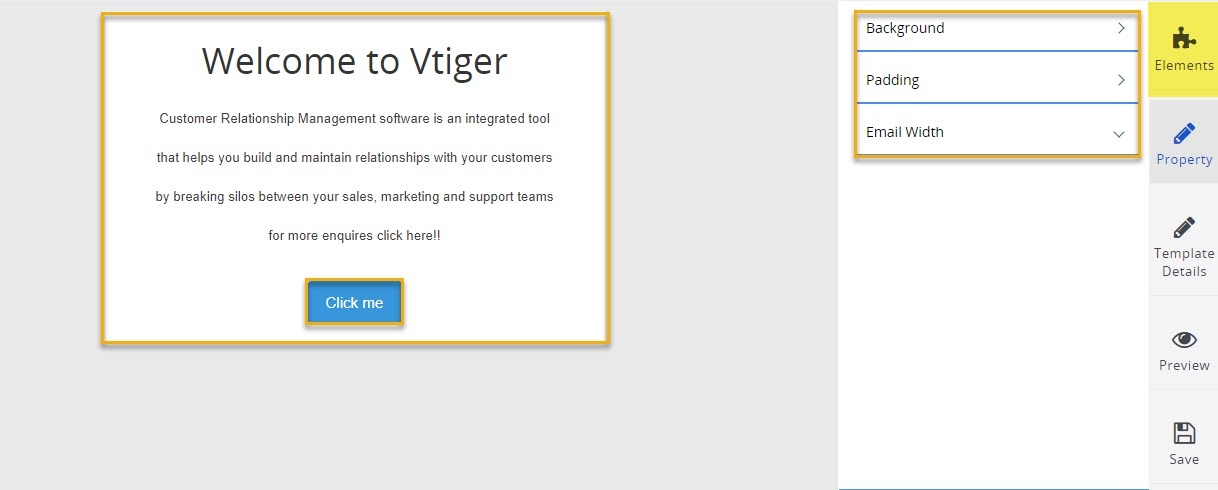
- Jumbotron: This feature is used where extra emphasis on a specific piece of content is required, it is a big box which highlights the information with enlarged text. You can also use hyperlinks in the Jumbotron to navigate reader to the full story.
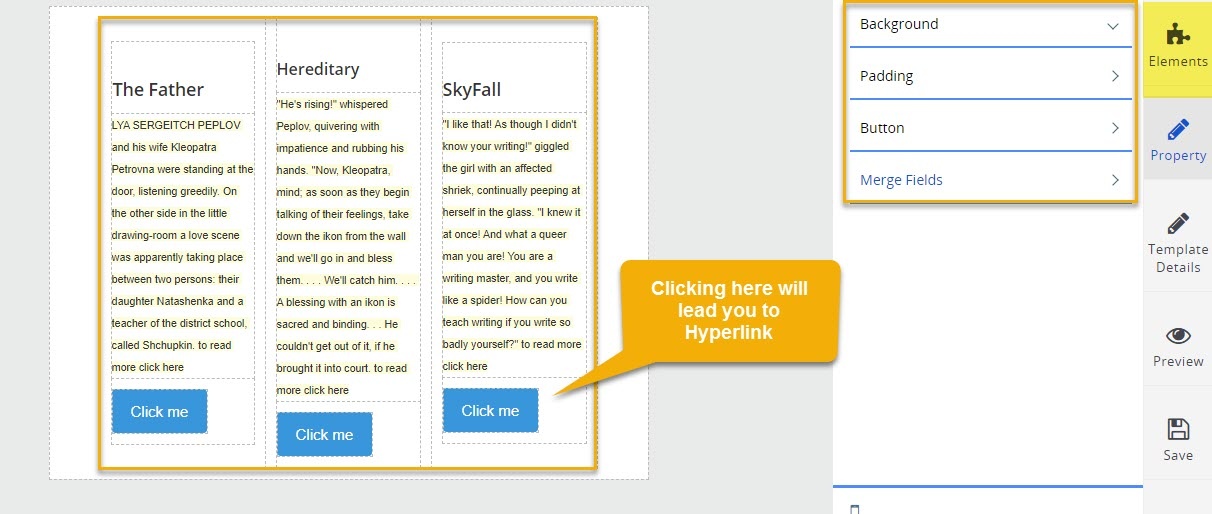
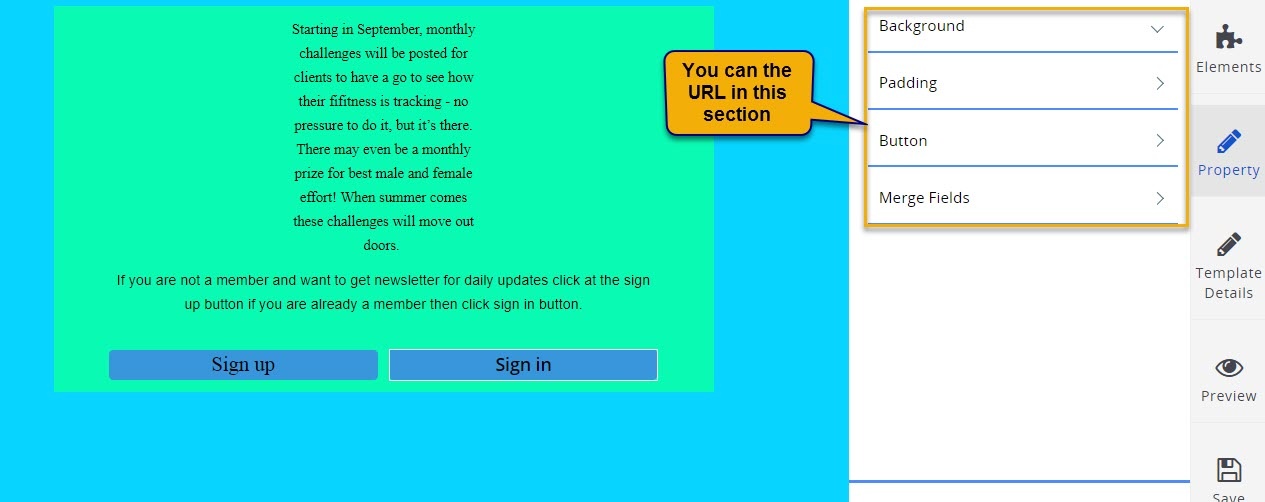
- Features :This feature allows you to provide short information on three different topics, sorted inform of different columns. Hyperlinks can also be added in all three columns to navigate the reader to the related full article or story. Use properties option to add Hyperlink
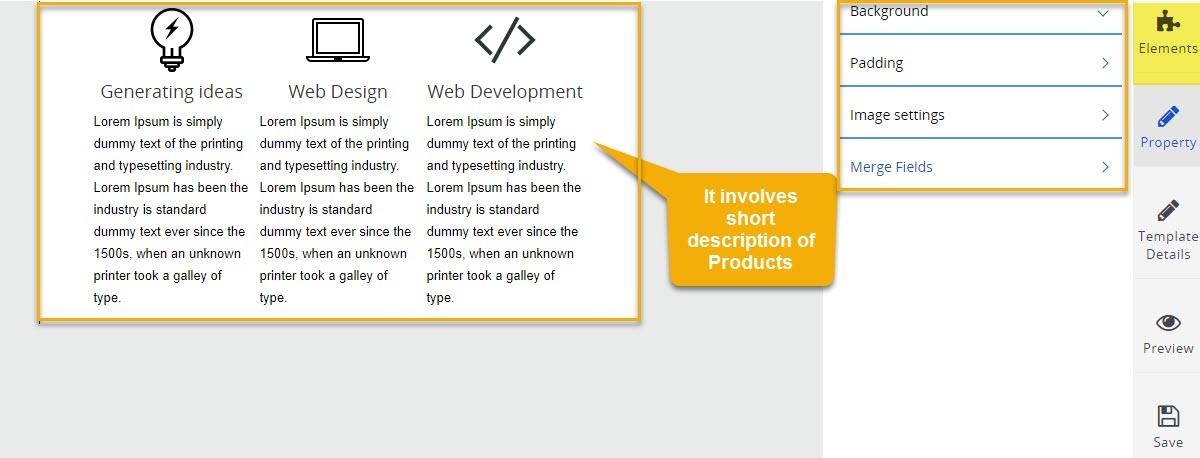
- Service List: Through this feature you can put short description of products or any other
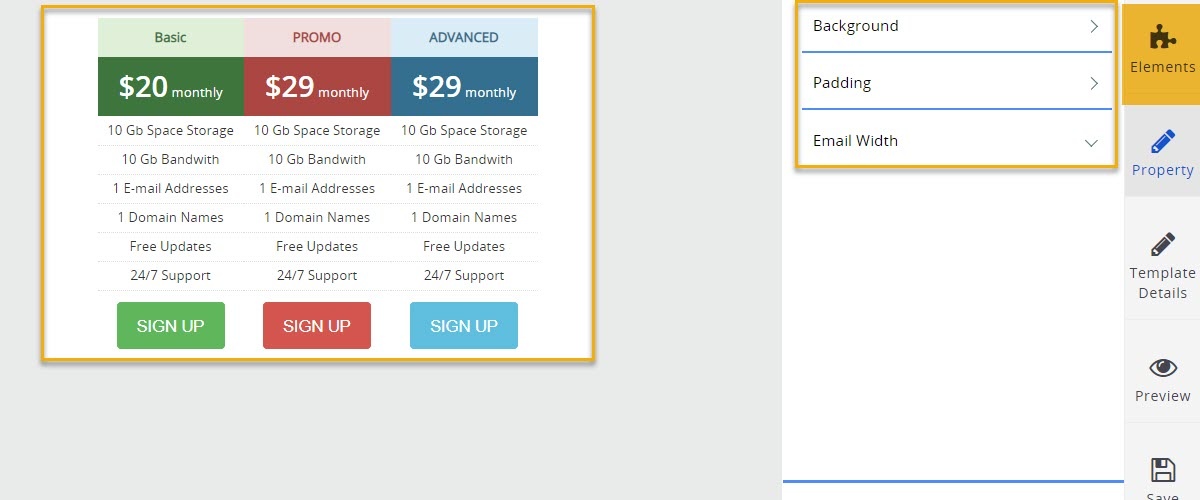
- Price Table: Pricing effects the decision of consumer greatly, price makes or breaks the deal. Email designer allows to present prices in way that it is easy for reader to understand. It provides the option to display price based on different product usage classification. E.g. one-time purchase, monthly subscription etc.
Media
This feature allows you to add a single image, or two images in form of two different columns. It also allows to add video into the email. The formats of images that are entertained by Email Designer are PEG, GIF, RAW, PNG, TIFF etc. On top of that you can also put images using their URL through properties function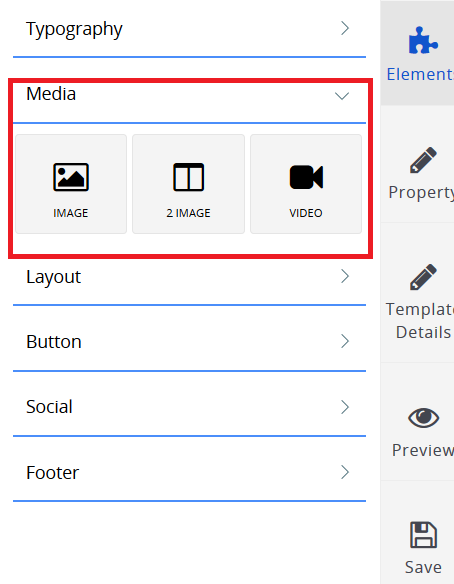
Layout
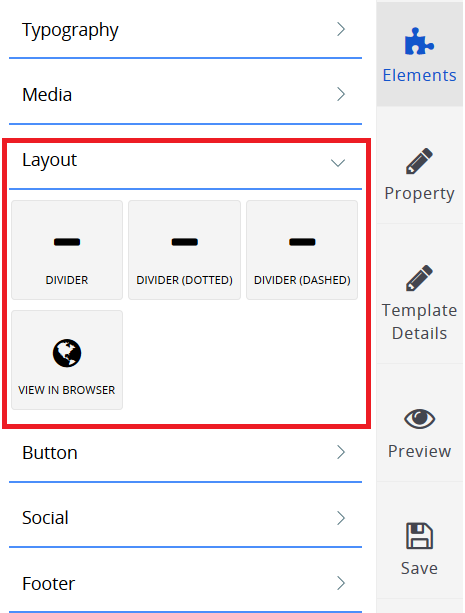
The layout of an email is every bit as important as the message it contains. When your email is well organized with an effective layout, you can better communicate your message. its the look and feel of the email overall appearance which makes the email feel connected when putting together. In layout you have option to set divider as per your requirement
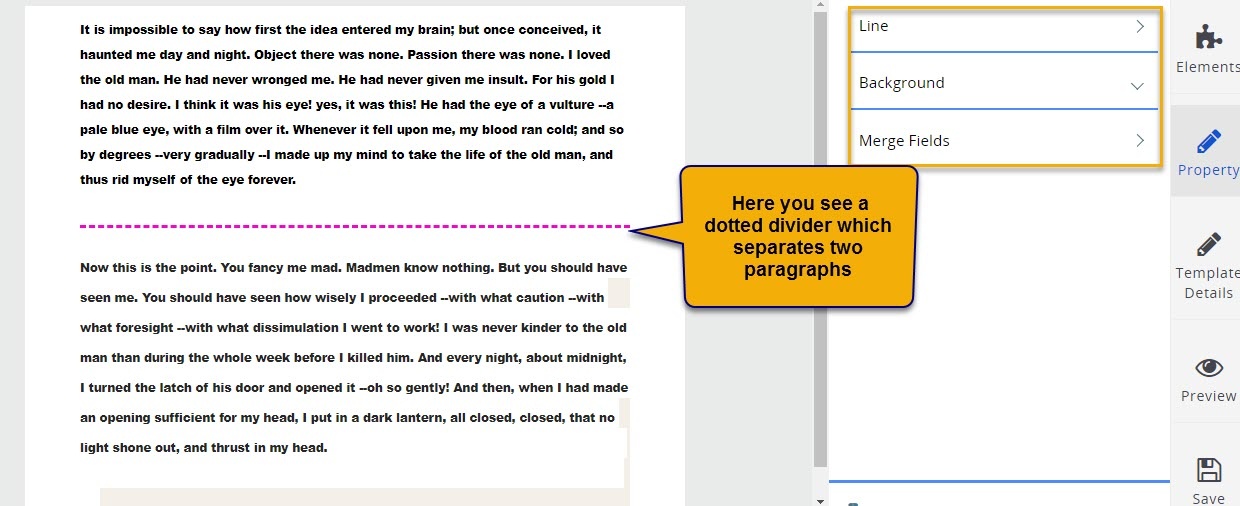
- Divider: The Divider content blocks emphasize breaks or transitions between sections of content. Use the Divider content block to visually separate other content blocks in a campaign. You can choose the type of divider you want to incorporate in your email. You can use from lined divider, dotted divider and dashed divider. Furthermore, this feature allows you to View in Browser option to have a look how it will appear in web browser.
Button
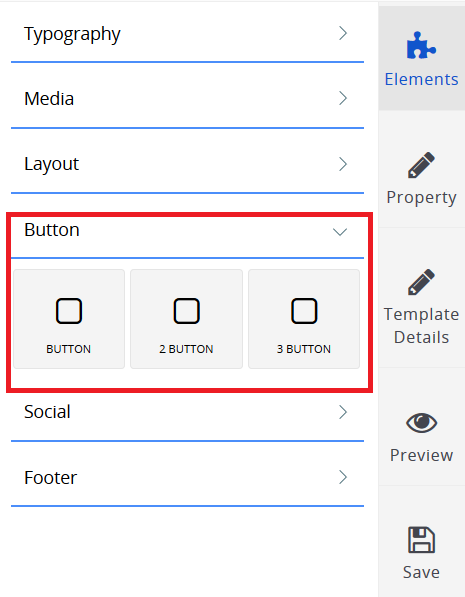
Email designer also allows you to incorporate different buttons in your email. Usually you use buttons on almost every website and use it quite frequently. For example, most common email buttons that users came across are Sign in and Sign Up buttons. Using this feature, you can make your emails more interactive. This feature allows you to add one, two or three buttons at an instance.
Social
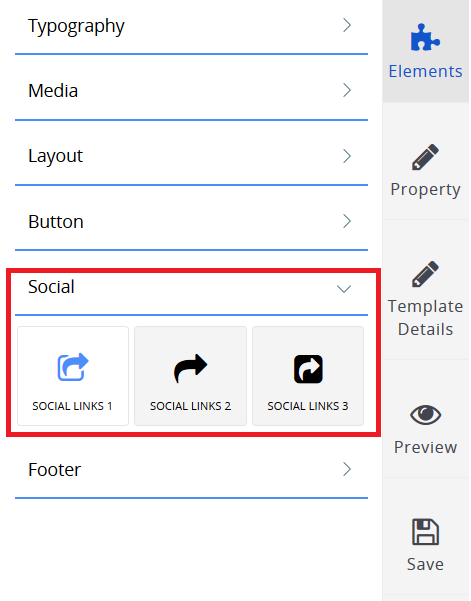
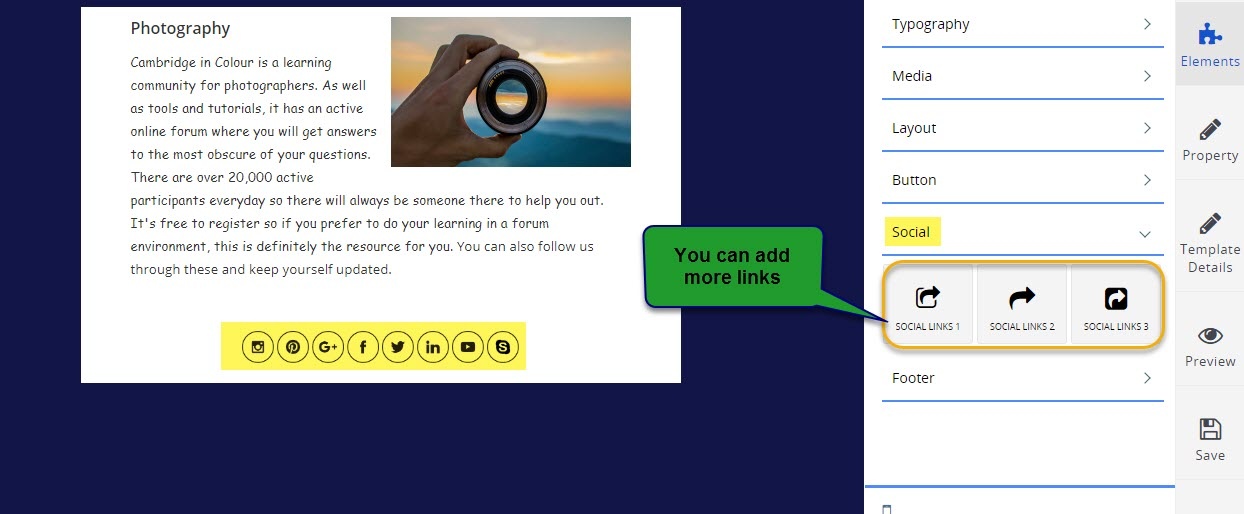
Social media profiles of business play a vital role in interacting with the consumers. That is why you can see social media presence of almost every successful business. To navigate user towards you social media profiles you can use this feature and add your social media links into your emails
Footer
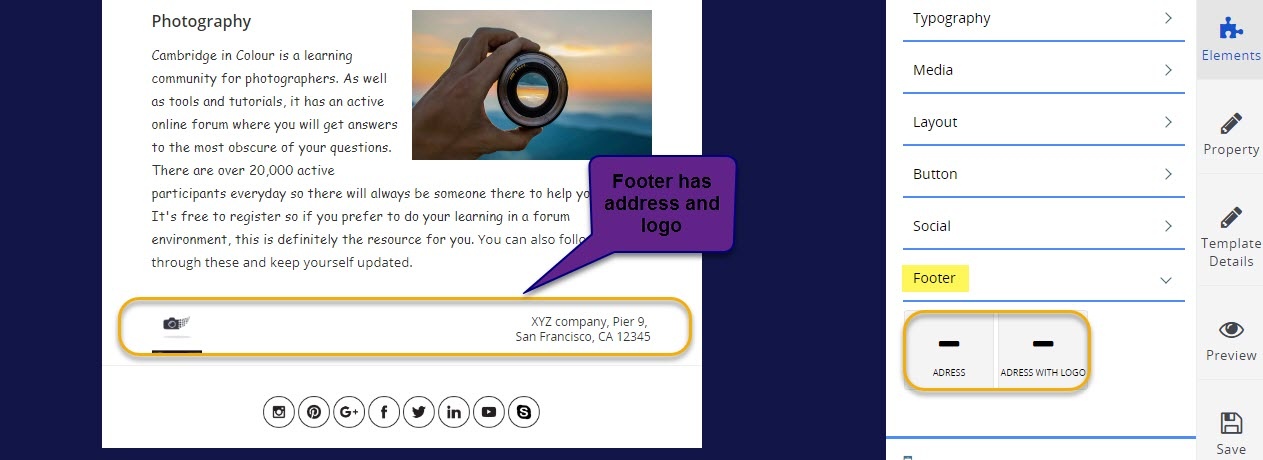
The footer of your email/template is located at the very end of your email and is often referred to as the email signature. This is typically the ending of your email where you wish your regards to your reader and then include your name , address and other pertinent information.
Property
Property tab allows to changes basic properties of emails. Like its background color, padding, merge fields etc.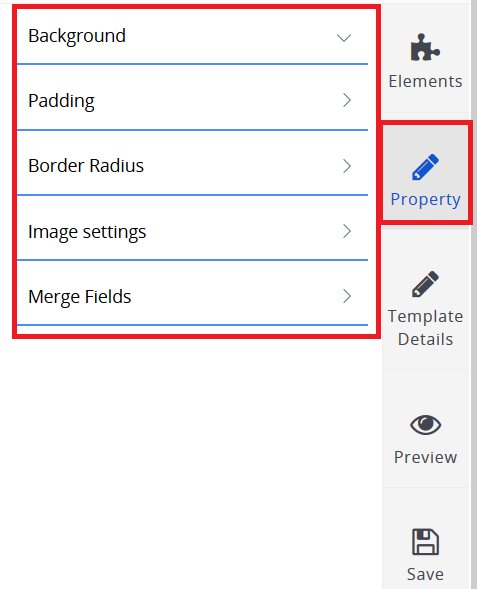
- Background: If you would like to create a plain HTML message with a different background color other than white, you can easily do this with Email designer. High-contrasting background colors distinguish each module, giving a clear order to the information and allowing the viewer’s eye to take in one message at a time. It’s a great way to create division of content and help readers quickly understand how the content is organized.
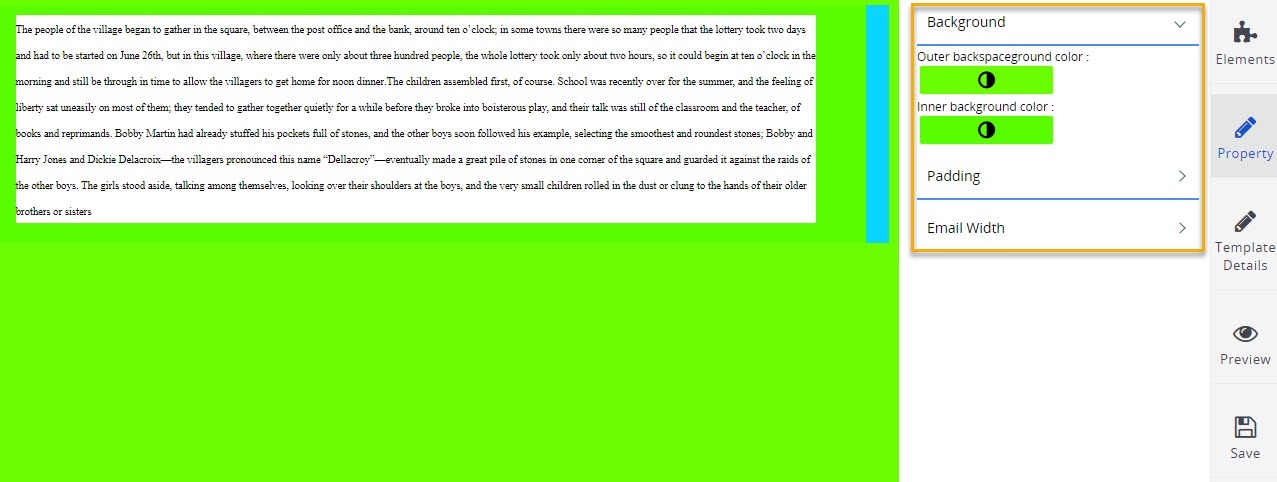
- Padding: You can also adjust padding options as per your email requirement in Email designer
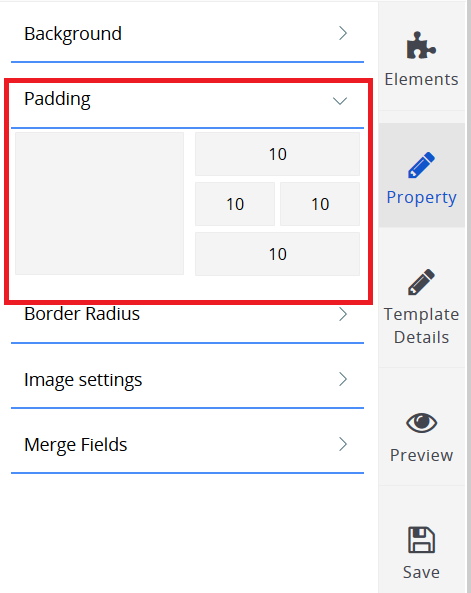
- Boarder Radius: Using this option you can adjust the border radius of the template as well
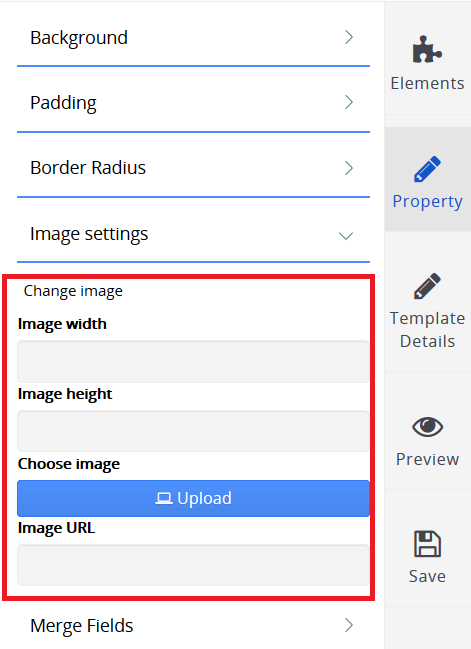
- Image Settings: It help in adjusting image width, height of an image incorporated in the email. Using this feature you can choose image from your drive and it also allows to choose an image using a URL.
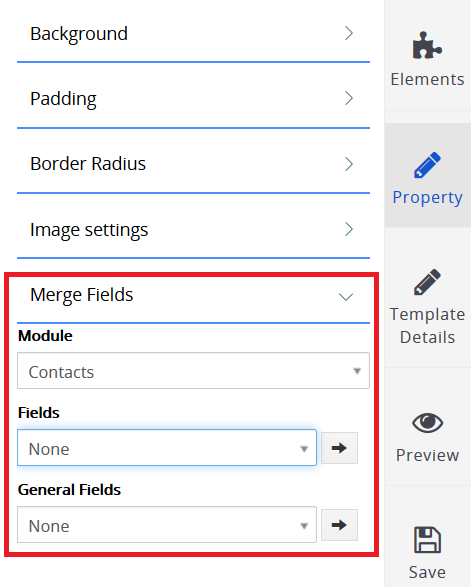
- Merge Fields: Using this feature you can merge different modules, field and general fields into one and display it in your email.
Template Details
Here you provide the details regarding the template that you have created. Template Name and Subject are mandatory fields, while Description is optional.
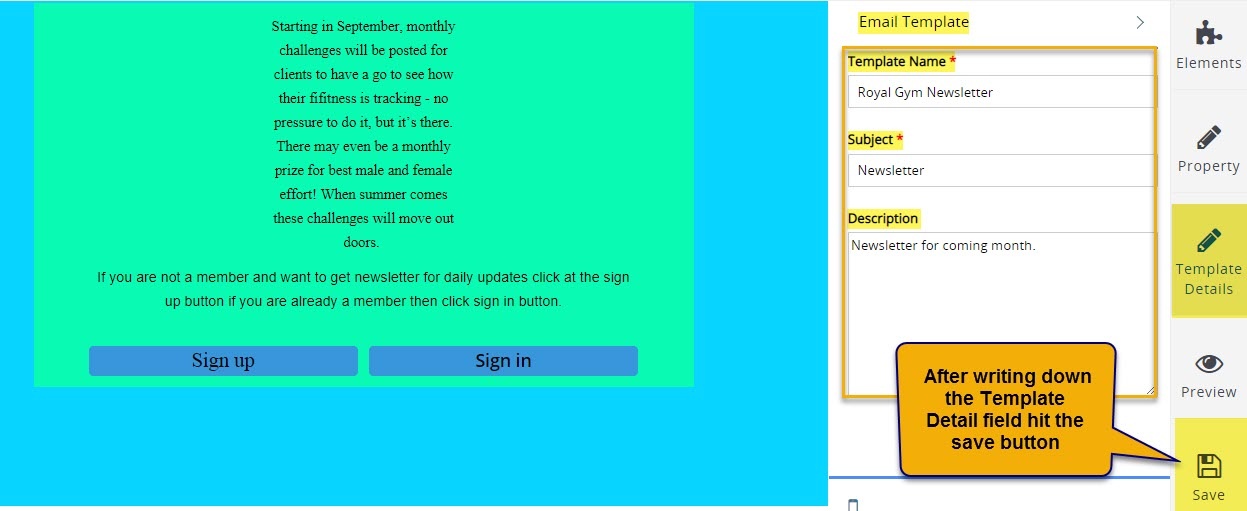
- Template Name: This feature let user assign a unique name to the template that you have created. For instance that you have created and saved hundreds of email templates, then you can search the required template by using its name.
- Subject: here user specify the subject of the template. For example, Subject of the email template is above image is Newsletter.
- Description: In this section user provide a short description about the template.
Preview
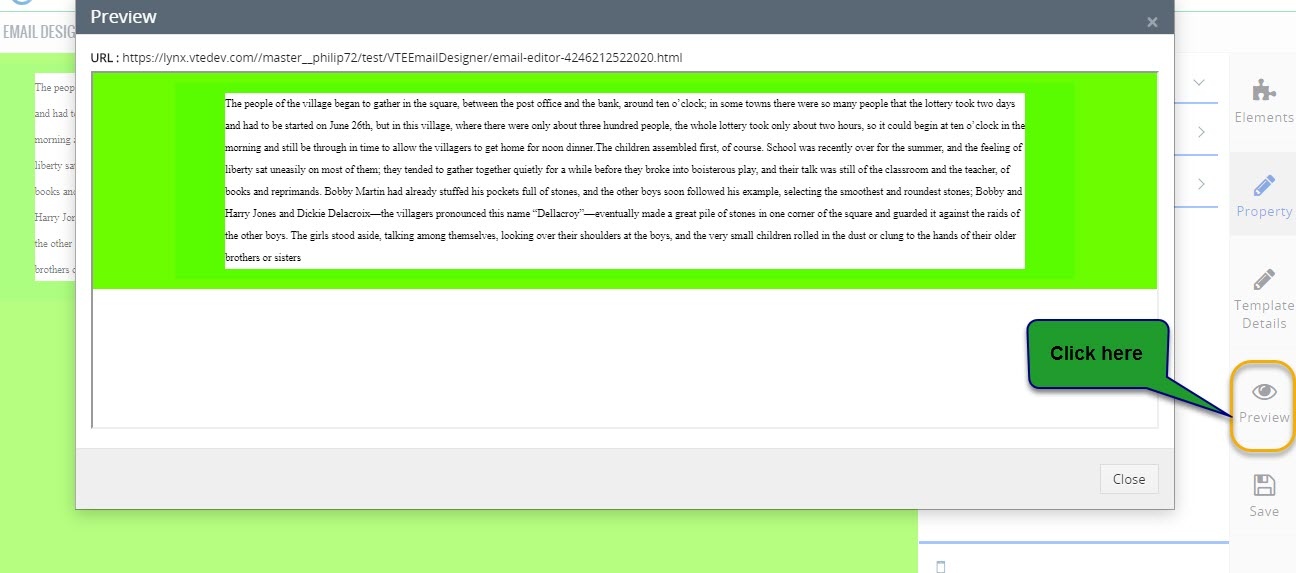
Preview features help in taking a quick look that how your email will appear in actual. It illustrates how the message will be shown to the target audience and if user finds some deficiency they can make the changes in the template accordingly before sending it to the readers.
Mobile Device
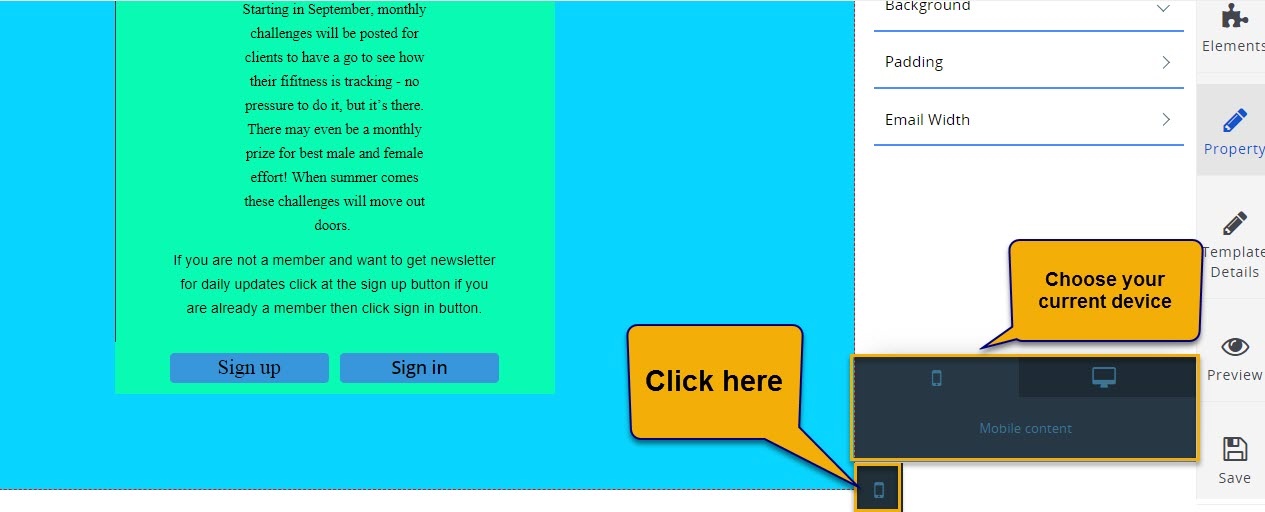
Email Designer is long sought to build campaigns for every device. Especially today, when roughly half of all email are accessed through mobile devices, it’s important to design an experience that works well across different platforms. This feature allows user to optimized their email on the basis of platform it will accessed at.
Save
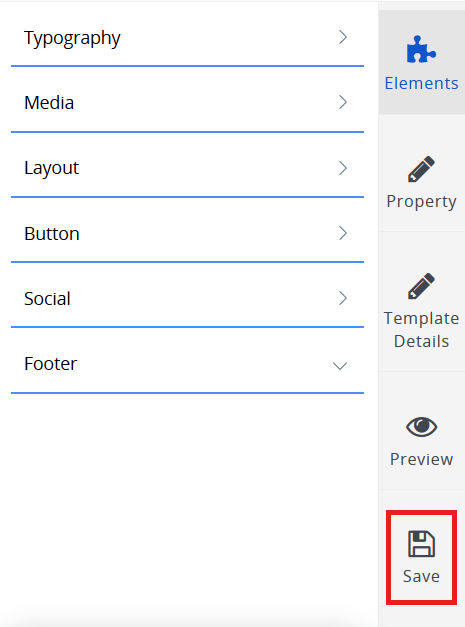
Finally, Save the template by pressing the save button, so you can access it in the future
