VTiger Time Tracker Extension is designed to quickly & easily track the time spent while working on a task. Its unique design allows showing and hiding the timer within a single click without leaving the page. It also includes the ability to run multiple timers & switch between them. Custom fields, comments, & manual time tracking are also supported.
It integrates with Accounting/Invoicing and allows rates to be specified for each type of “time tracking activity” as well as custom rates per client. It is compatible with Contacts, Organizations, Leads, Tickets, Projects and Opportunities.
Configuration
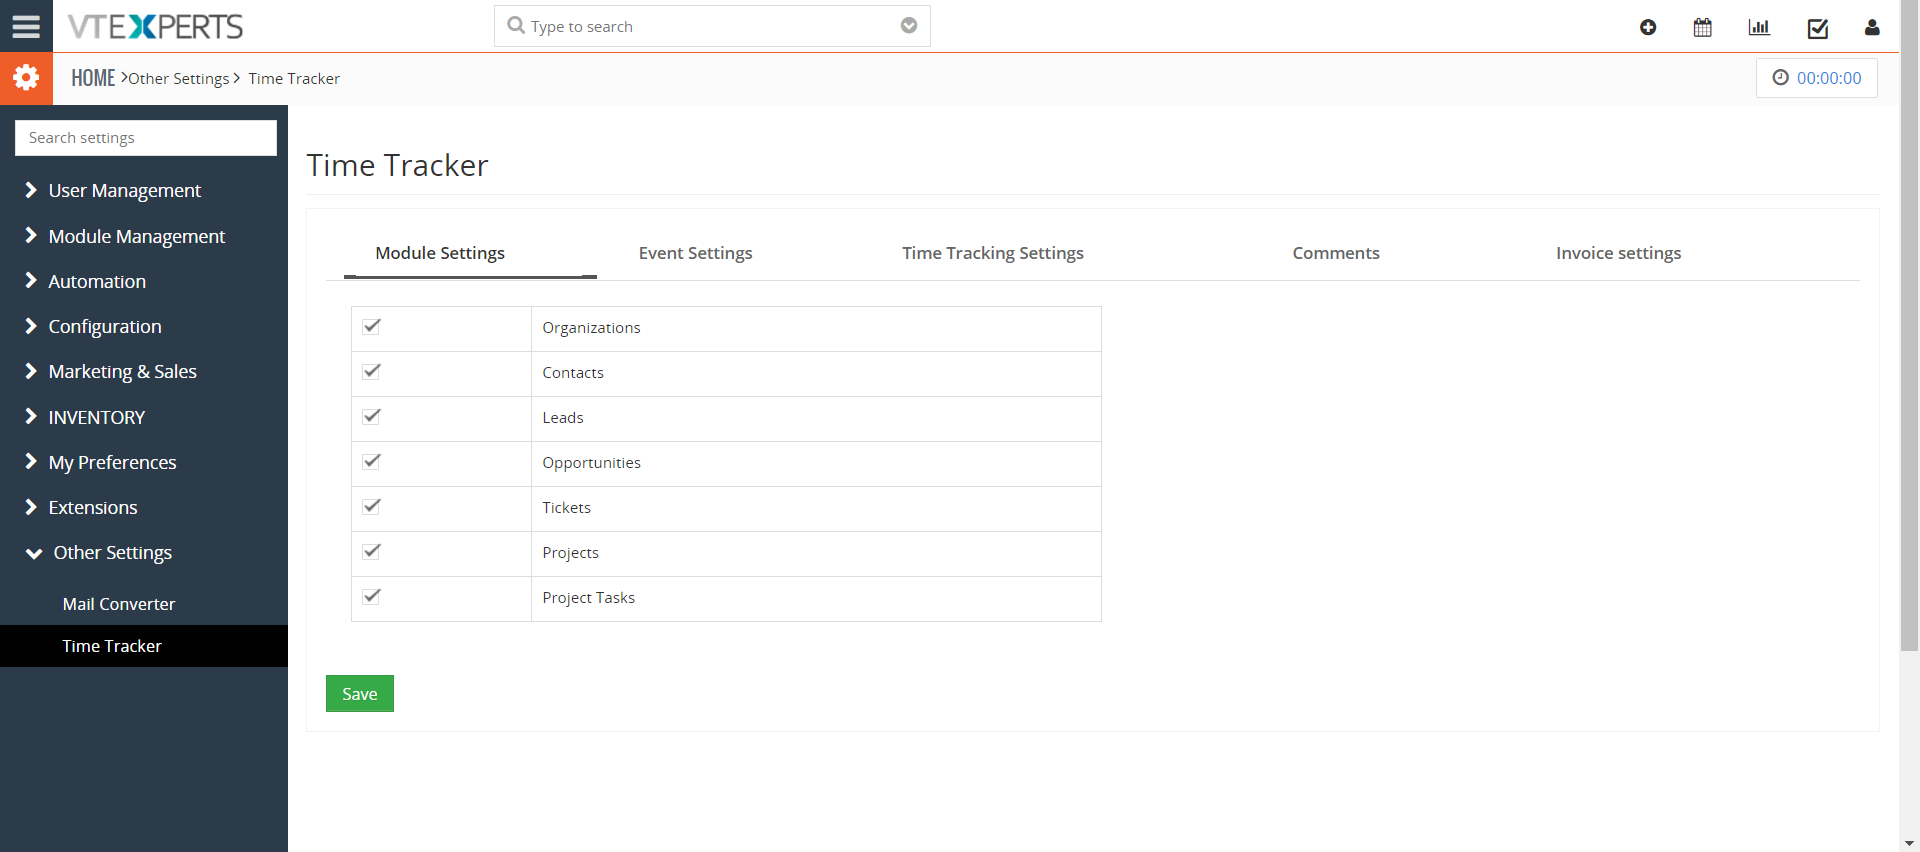
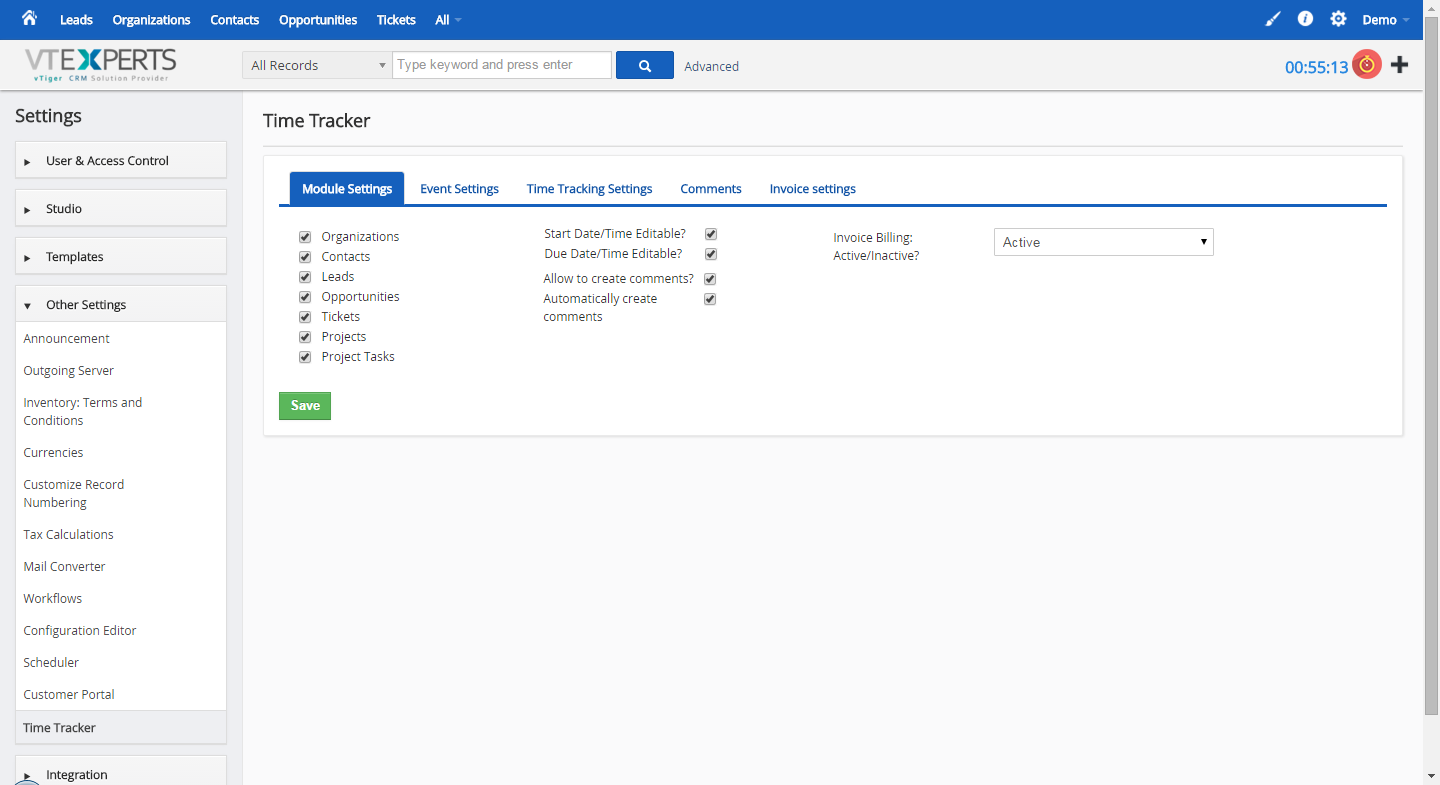
To configure the Time Tracker module, go to CRM Settings > Other Settings > Time Tracker. There are 5 tabs in Configuration section of Time Tracker:
Module Settings: Choose the modules for which the timer tracker will be enabled. Simply check/uncheck the modules to enable or disable them from the module.
Event Settings: Configure which fields should be available in the Time Tracker popup. You can also select default settings for each field here.
Time Tracking Settings: Ability to edit start/end date and time. Un-checking the settings will not allow user to modify the date and time and system time will be recorded.
Comments: Allows to change the settings of comments i.e. add or not add a comment as well as automatically add a comment.
Invoice Settings: Enable or disable Invoicing via Time Tracker.
Time Tracker Interface
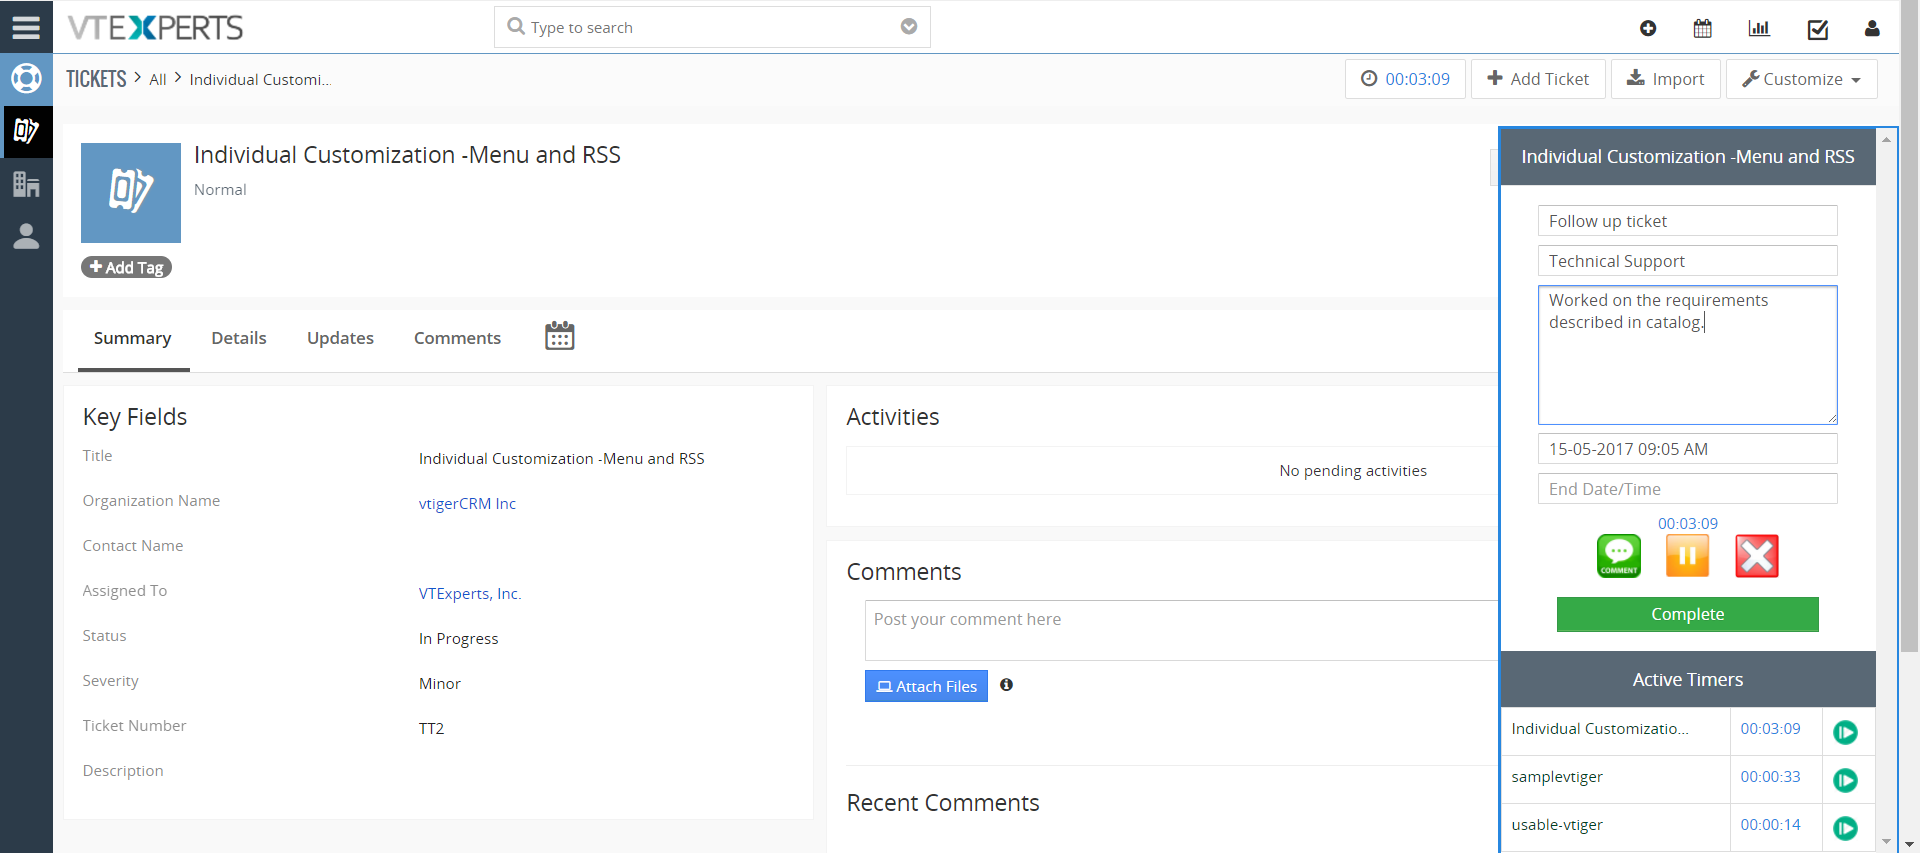
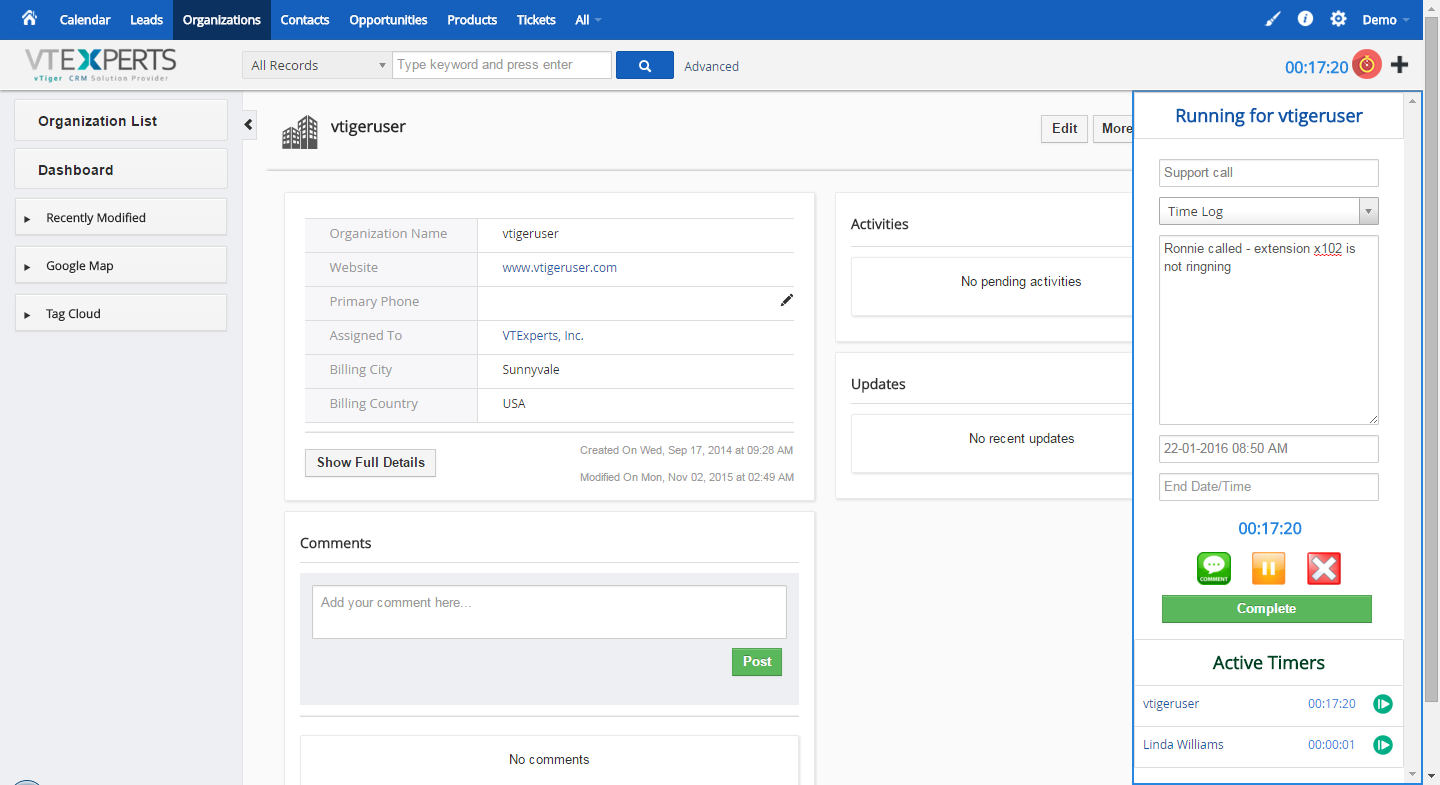
Lets understand the interface of the Time Tracker module:
Name of the Record: Displayed at the top when time tracker is opened.
Enter Subject: The activity for which the time is recorded.
Type of activity: Select which type of activity or time log are you working on.
Enter Description: General information about the activity and what tasks were performed during the time spent.
Start Date and Time: The starting time when the log is initiated
End Date and Time: The ending time when the task is completed
Digital Timer: Shows the current running/paused time spent on the record
Comment: Allows to add a comment
Pause: Allows to pause the timer
Delete: Allows to delete the timer
Complete: To stop the timer and record it in the time log. After a timer has been completed, the comment and activity for that record will be added to the respective sections of that record.
Active Timers: Displays all the timers active for any records. Clicking on any active timer pauses the current timer, opens the relevant record and starts the timer for clicked record. If you move to another record and start a timer, previous record’s timer will be displayed in this list.
Billing Through Time Tracker (Invoice)
To bill the organization or the record; in the same record, go to Invoices and click ‘+Add Invoice’. Then follow the procedure below:
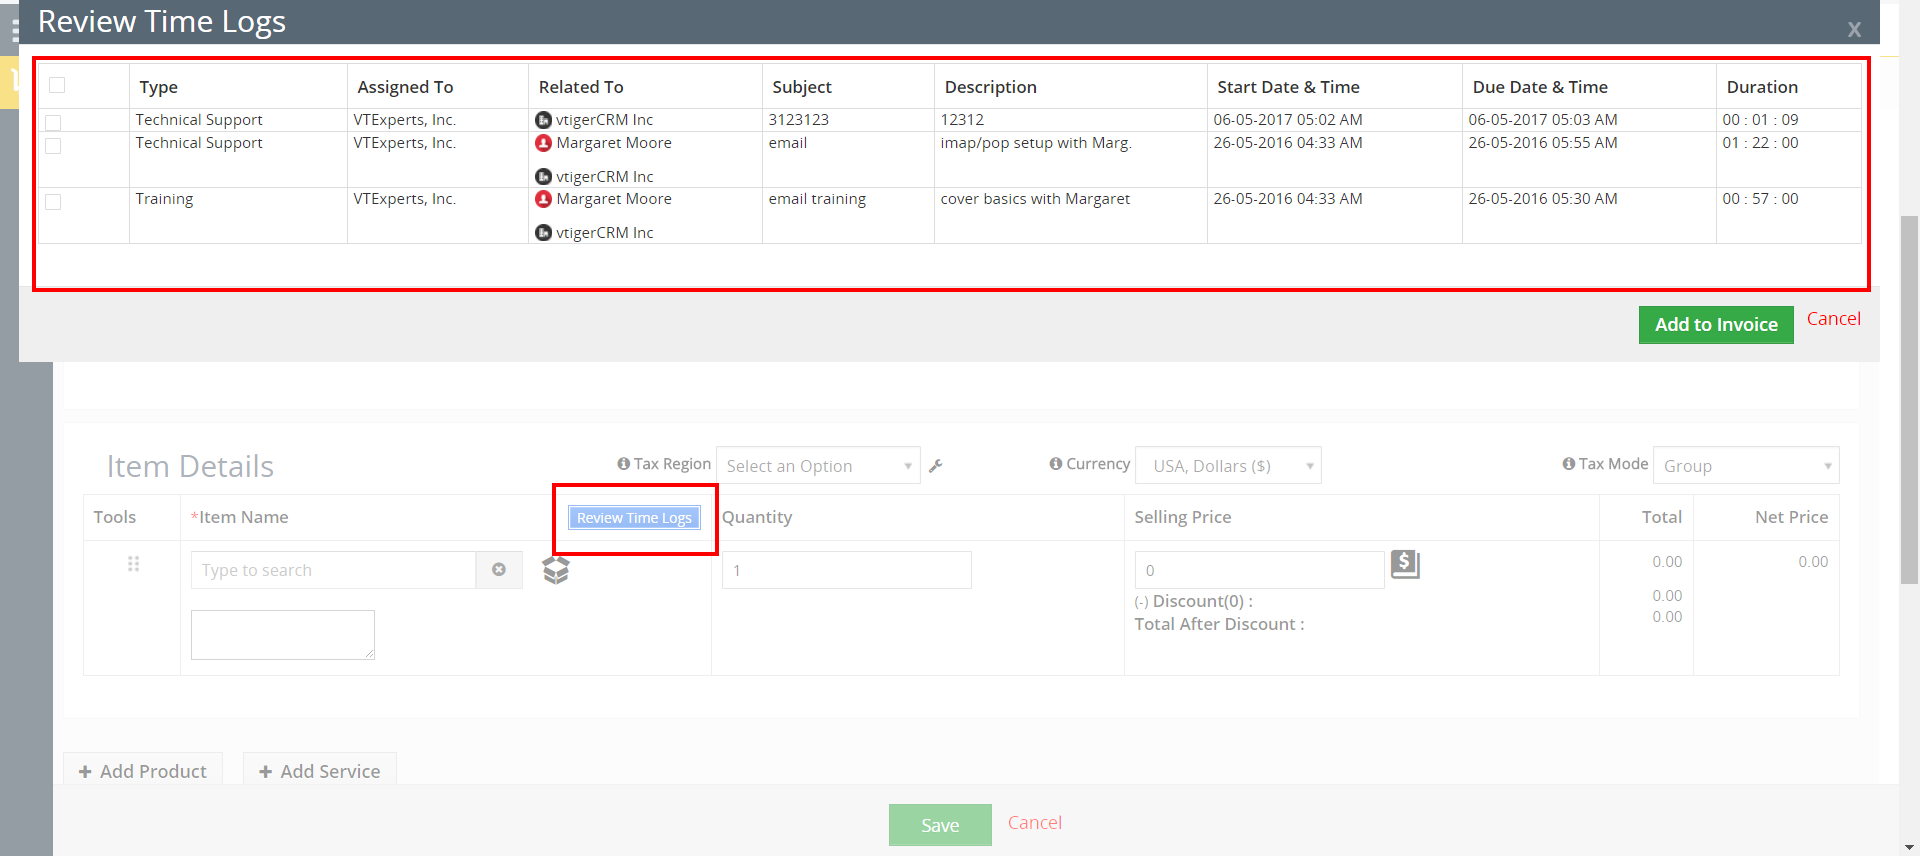
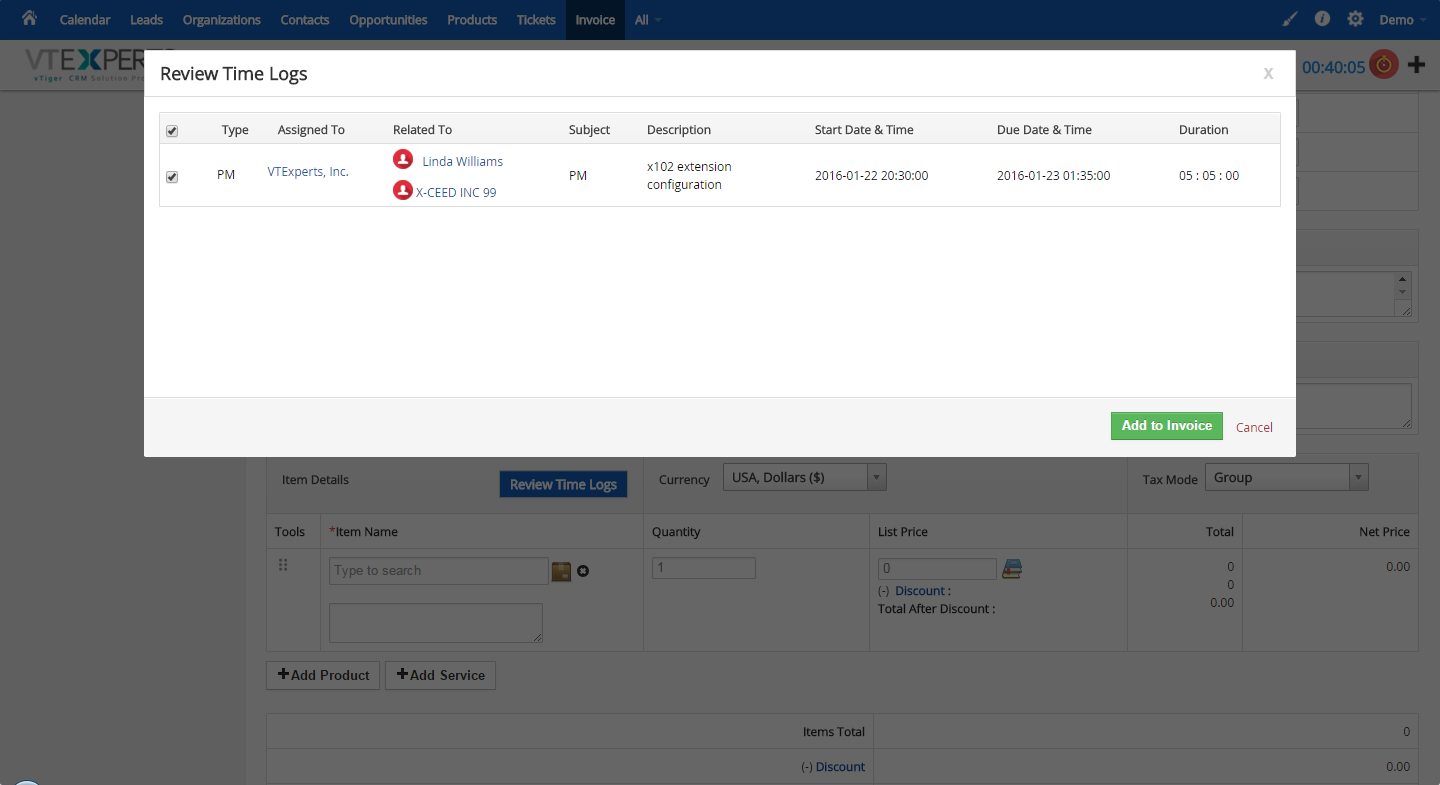
Click “Review Time Logs”.
Select the Time Logs you want to add to the invoice.
Click “Add to Invoice”.
Click “Save” to create the invoice.
How to Create Activities and Activity Types?
Activities and Activity types can be billed at different rates. There are 3 steps for the configuration of activity and activity types billing.
Go to ‘CRM Settings’, click ‘Studio’, and choose ‘Picklist Editor’. Then configure as below:
1. Create an Activity Type
Select Module: Choose ‘Events’ as the module of choice.
Select Picklist in Events: Choose ‘Activity Type’ from the list.
Add Value: Clicking the button will show a popup – name the activity type (e.g. Maintenance) and save. The activity type will show up in the list.
2. Create a Service Category
Select Module: Choose ‘Services’ as the module of choice.
Select Picklist in Services: Choose ‘Category’ from the list.
Add Value: Clicking the button will show a popup – name the service exactly the same as activity type (which is ‘Maintenance’ in our example) and save. The activity type will show up in the list.
3. Create a Service for Maintenance
Go to ‘Services’ and click ‘+Add New Service’.
Service Name: Assign a name to the service. E.g. Maintenance Work.
Category: Select the Category that was just created for the purpose e.g. Maintenance.
Description: The information on the service provided.
Price: Set a Price for the service. This price will be charged each time when the specific service will be provided.
Service%: Calculate and apply tax if applicable.
Save: To setup the service.


