When working on a project, you may get overloaded by tons of data. Data handling is being enhanced day by day using hundreds of techniques depending on the quality of output. While working with a CRM, filters play a vital role in keeping track of your records. Vtiger 7, yet again, takes another step in reforming the modern techniques by introducing “Custom Filter” tool.
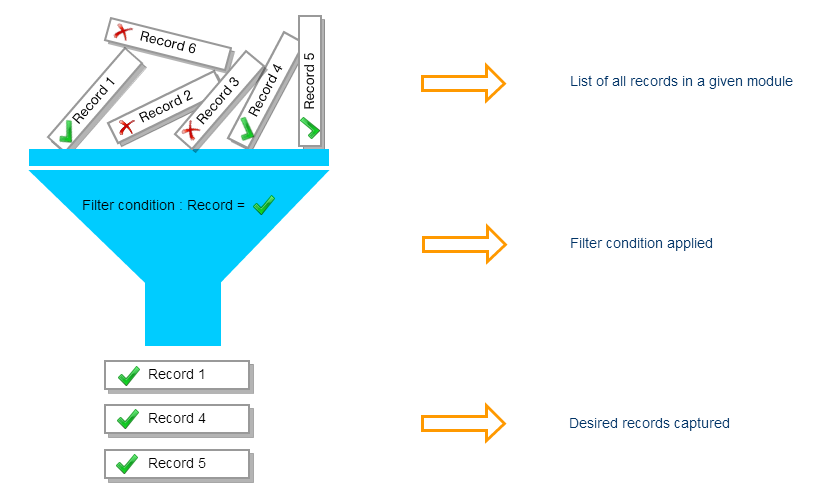
It’s simple that using filters, locating the desired record gets easier. It also let you take bulk actions on the selected data. Utilizing Vtiger 7, Custom Filters can be designed according to your own requirements, and type of record.

Getting started by developing a Custom Filter of your choice
The following protocol works for every module. Let’s say we are in “Opportunities” module. Mirror these simple steps:
1. Press the Opportunities Tab
2. There will be a drop-down menu with Opportunities title
3. Click on the Add symbol denoted by a +

4. Now you will be asked to name the custom filter.
Tip: Use a name that would depict the maximum ability of the filter.
5. Now arrange up to 15 columns in the order you want them to be appeared.

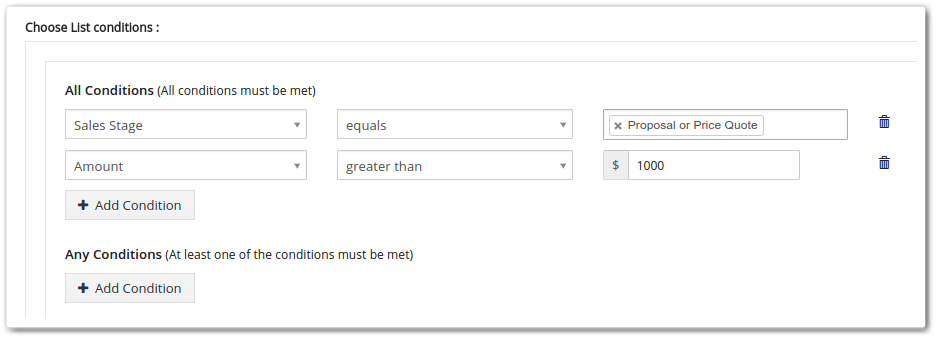
6. Here comes the most crucial step, assigning conditions to the filters. Vtiger 7 lets you handle this complex job flawlessly without any hesitation. The menus leading to each other column vise are quite simple to configure.
The user-friendly frontend configuration is based on carefully coded backend logics. You can choose either “All Conditions” or “Any Condition”.

7. “All Conditions” filter is created to be operate if each and every single provided condition is met, and refraining occurs if a single one is missing. It’s also famous as “AND Condition”
8. On the other hand, “Any Condition” or “Or Condition” executes the filter if even one of all the conditions is satisfied.
Getting the most out of your custom filter
There are several options in Vtiger 7 custom filters that let you improve the efficiency of your self-created filter. Working on a project may lead to the requirement of using same filter over and over again.
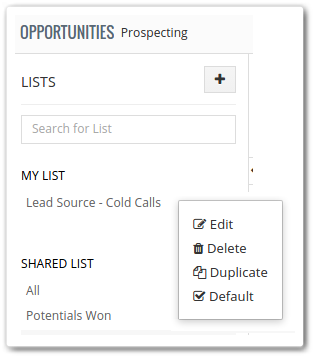
Set as default option allows you to mark the filter of your choice as stock filter for your Vtiger account.

While the List in Metrics checkbox accommodates you to add a widget on the dashboard. To add a widget, follow the path Add Widget > Mini List > Opportunities > Lead Source – Cold Calls > select columns and save.

Other options like Share the list and Delete filter provide additional control over the custom filter by restricting the filter to specific traffic or removing it if the desired results are attained.
 Vtiger 7 is complex and loaded with tons of features. You might get surprised while being productive *wink*


