vTiger CRM Custom Development
How to Change vTiger Global Search Result Columns/Fields?
August 30, 2013
Article
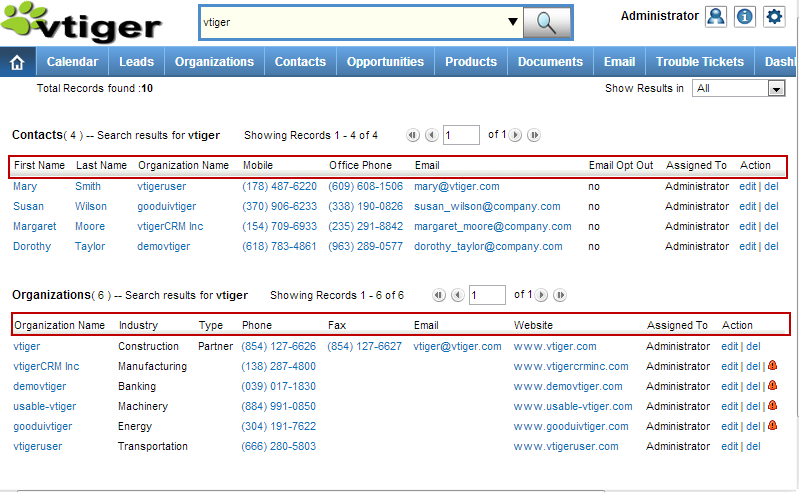
Out of the box vTiger does not have an option to change the Global Search Result Columns/Fields in the User Interface, however there’s a way around. Basically – you need to create a vTiger filter and specify the columns you want to see. Note, the filter does not have to be set as default, but has to be public. In addition, in order for it to work, you will have to create filters for all the modules you want to use in the search, in other words, the filter you create will be used to display search results, and if the filter does not exist, it will not show any results, so again each module that you want included in the search should the the filter created. The filter name should be the same for all modules. Once you have the filters created, the next step is to specify which
How to Change Field Labels in vTiger?
August 28, 2013
Article
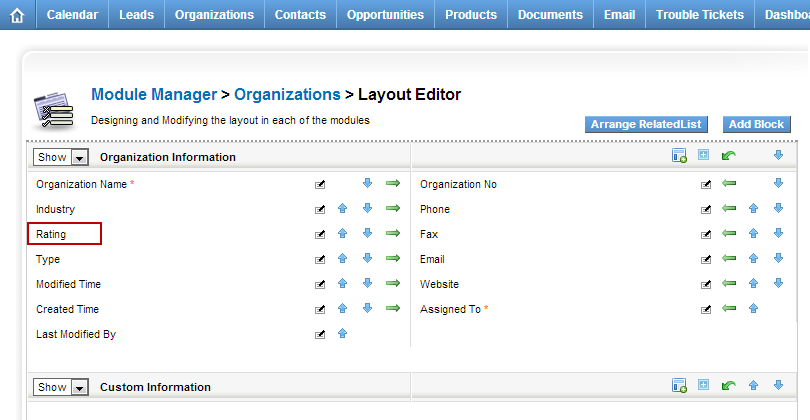
Unfortunately vTiger does not have an option to change the field labels using the user interface. However, there are few ways to do it. Let’s say we want to modify the field label for Account field “Rating”. The first and the easiest method is to modify the vTiger language file and replace the existing field labels with new ones. Go to “/vtigercrm/modules/Accounts/language/“ Open “en_us.lang.php” with your favorite text editor Find the word “Rating” and replace it with the new label. Save the file and refresh the Contact screen – the new label should show up. The second method requires knowledge of MySQL database structure, so if you are not familiar with tables and field, you are better of going with method one or three. Connect to your vTiger database Find table ‘vtiger_field‘ Run the query ‘select * from vtiger_field where fieldlabel=’Rating’;‘ Edit the row and change the fieldlabel value to
Invoice/Quote/Sales Order Default to Service instead of Product.
July 18, 2013
Article
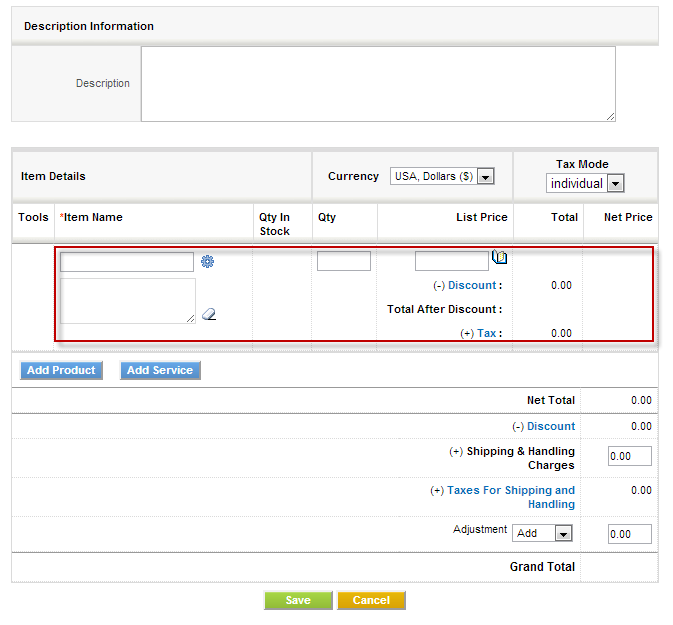
By default when you start Invoice, Quote or Sales Order the item defaults to products. This is not convenient for businesses who are oriented towards services, however there’s a quick tip how to change the first line item to services. We strongly recommend to backup vTiger files and database before doing any changes to code/database. Navigate to “vtigercrm/Smarty/templates/Inventory/ProductDetails.tpl” Go to line 172, the line should be: <img id=”searchIcon1″ title=”Products” src=”{‘products.gif‘|@vtiger_imageurl:$THEME}” style=”cursor: pointer;” align=”absmiddle” onclick=”productPickList(this,’{$MODULE}’,1)” /> Change it to: <img id=”searchIcon1″ title=”Services” src=”{‘services.gif‘|@vtiger_imageurl:$THEME}” style=”cursor: pointer;” align=”absmiddle” onclick=”servicePickList(this,’{$MODULE}’,1)” /> Save files and you are set.


